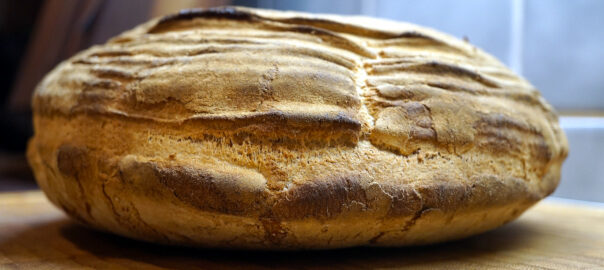
Hier der absolute Klassiker, wenn es darum geht im Handumdrehen frisches Brot auf den Tisch zu zaubern. Ein ehrliches Weißbrot – ohne jeden Schnickschnack – was frisch einfach am besten schmeckt.
Im Grunde klappt das Rezept mit jedem Weizenmehl – wir hatten Type 550 in der Speisenkammer, was für uns passte, aber auch ein Type 405 oder auch Type 630 (Dinkel) funktioniert gut.
Für 4 Personen
Schwierigkeit: Leicht
Kosten: 2-3 Euro
Zubereitungszeit: 2 Stunden
Davon Vorbereitung & Backzeit 1,5 Stunden
Tools
Gummihandschuhe für den Gastro-Bereich, Waage, Silikon-Backmatte oder Backpapier, Rührschüssel, Rührer mit Knethaken, Gär-Korb, Bäckerstärke, Esslöffel, zwei Küchenhandtücher (Baumwolle)
Zutaten
- Prise Zucker
- 1kg Weizenmehl Type 550
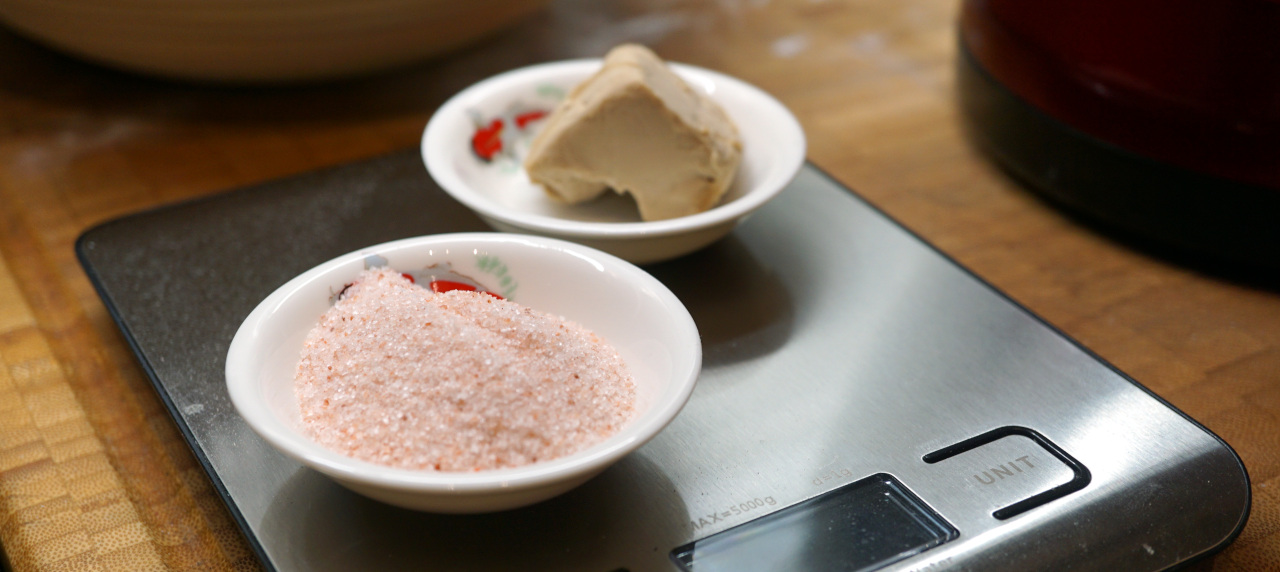
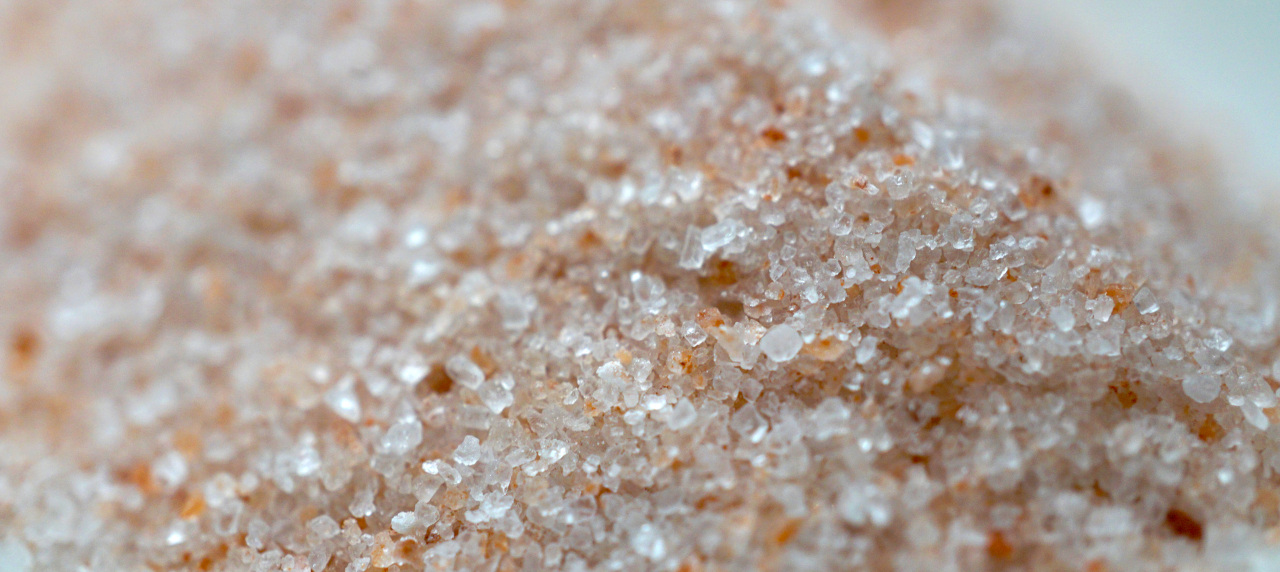
- 20g Steinsalz (rot, fein, Pakistan) 20g
- 600 ml Wasser (53°C +/- 1°C)
- 20g Hefe (frisch)
Vorbereitung
- Nehmt die 20g frische Hefe mit ausreichend Vorlauf aus dem Kühlschrank (Diese sollte mindestens Raumtemperatur haben!)

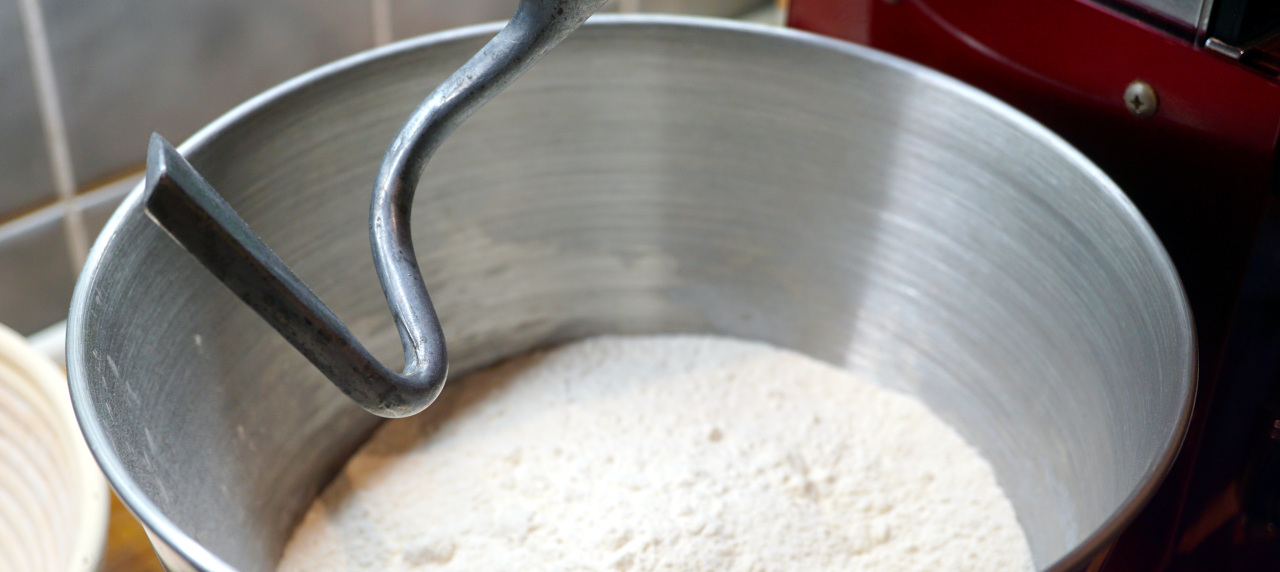
- Messt Mehl, Salz und Wasser ab und nehmt die Rührschüssel zur Hand.
- Mischt nun das Weizenmehl mit dem Steinsalz und gebt auch die Prise Zucker hinzu.
- Stellt Euch das temperierte Wasser zurecht und löst darin die Hefe auf .
- Gebt diese Mischung nach und nach unter Rühren in die Schüssel mit der Mehl/Salz/Zucker-Mischung.
Nach kurzer Zeit wird sich ein glatter Teig ergeben, dann ist es soweit diesen ruhen zu lassen.
Tipp: Probiert Euren Teig immer – auch wenn es sehr wenig Zutaten sind, oft und gerne wird auch mal das Salz vergessen oder es schmeckt gar süß…
- Nehmt Euch nun ein Küchenhandtuch und durchnässt dieses mit warmem Wasser, wringt es aus, nehmt es doppelt und deckt damit die Rührschüssel ab.
- Die abgedeckte Schüssel, stellt Ihr dann für 60 Minuten an einen warmen Ort – achtet darauf das hier nicht gelüftet wird solange Euer Teig Ruhe finden soll.
Jetzt habt Ihr etwas Zeit wieder Ordnung in Eure Küche zu bringen, einen guten Kaffee zu genießen oder aber um Eure anschließende Grill-Session vorzubereiten.
Auf Google Maps: https://goo.gl/maps/uPBqQmeBpcJ1XsGv6
Die Gärzeit ist um – weiter geht`s

Sicher habt Ihr in der Zwischenzeit Eure Backmatte zurechtgelegt oder aber die Arbeitsfläche etwas mit Mehl bestäubt – die besten Voraussetzungen für die nächsten Arbeitsschritte.
- Heizt Euren Ofen auf 230°C
- Mehlt Euch die Hände ein
- Löst den Teig aus der Rührschüssel und gebt Ihn auf Eure Arbeitsfläche
Der Teig sollte eine stabile Konsistenz haben und sich leicht lösen lassen.
- Schlagt den Teig nun 6-8 mal ein.
Dies tut Ihr, indem Ihr jeweils an der Seite des Teigballens anfasst und diesen nach oben zieht – nur soweit wie nötig, um den Teil über den Teigballen fallen zu lassen. Dabei dreht Ihr den Teig bis Ihr alle „Überschläge“ vorgenommen habt.
Wichtig: Dieses Vorgehen dient zum einen dazu, mehr Stabilität in den Teig zu bringen, zum anderen aber eben auch dazu im finalen Brot eine großporige Krume zu erhalten – Faltet Ihr zu Häufig bleib der Effekt aus, also seid sparsam mit den Wiederholungen.
- Wendet den Teig und formt diesen nach Euren Vorstellungen
- Ritzt die Oberseite des Teigs etwas ein – natürlich funktionieren hier auch Muster
- Platziert den Brotlaib auf Eurem Backblech und dann für 20 Minuten ab damit in den Ofen
Je nach Ofen-Typ kann es notwendig sein das Brot zu drehen – also bleibt dabei und schaut ab und an mal nach der Farbe.
Achtung, auch die Höhe des Brotes ist ein wichtiger Faktor in Sachen Backzeit und Bräune. Umso flacher der Teig, desto schneller ist er fertig – umso näher an der Hitze, desto schneller wird er dunkel.
Achtet also darauf wie schnell Euer Brot Farbe annimmt, ggf. deckt Ihr den Laib – sobald er ausreichend Hitze bekommen hat mit Alufolie ab.
Es gibt viele verschiedene Varianten wie man sein Brot backen kann. In diesem einfachen Rezept legen wir den Brotlaib einfach auf unser Backpapier und gut ist. Das geht natürlich auch anders. Viele schwören dabei auf ein gusseisernes Gefäß mit Deckel – also wie ein Dutch-Oven, sprich ein Bräter mit ofentauglichem Deckel würden die Großeltern sagen. Wir persönlich, haben die besten Erfahrungen mit einem gewässerten Römertopf gemacht – mehr dazu in den kommenden Beiträgen zum Thema Brot.
- Öffnet nun den Ofen und stellt diesen auf 180°C ein.
- Lasst die Ofentür einen Moment auf während Ihr Euer Brot je nach Bedarf dreht oder auch abdeckt.
- Nun schließt die Tür wieder und gebt dem Brot nochmals 10-15 Minuten Zeit – aber wiederum unter Beobachtung.
- So, Euer Brot sollte nun fertig sein.
Wir gehen davon aus, dass Euch Euer Brot gelungen ist – im Grunde ist unsere Beschreibung wie immer gefühlt deutlich umfangreicher als der tatsächliche Aufwand, was uns bewusst ist – aber wir möchten sicherstellen, dass an Hand unseres Rezeptes wirklich jeder zum nahezu gleichen Ergebnis kommen kann.
Und ja, wir wissen das man ein frisches Brot erst einmal ruhen lassen soll – manche tun dies 1-2 Stunden lang, bei Roggenbroten können dies auch Tage sein. Aber hey, wir hatten Hunger – das Brot wurde keine 2 Stunden alt – lecker wars!
Natürlich könnt Ihr Euren Teig wie immer auch mit Kräutern, getrockneten Tomaten, Oliven oder schwarzen Knoblauchzehen „pimpen“ – hier sind Eurer Fantasie keine Grenzen gesetzt. Bedenkt jedoch, dass wenn Ihr Zutaten hinzufügt, die bereits salzig schmecken, der Salzanteil der Basis-Zutaten etwas zurückgenommen werden muss – andernfalls ist das Brot nachher versalzen. Unsere Faustregel, nie mehr als 20g Salz/Kilo verarbeiteten Mehls.

Das war es mal wieder – probiert das Brot unbedingt mal mit unserem Rezept zur Schwarzen Knoblauchbutter aus! Wie immer wünschen wir Euch einen guten Appetit!Here is the absolute classic when it comes to conjuring up fresh bread on the table in no time at all. An honest white bread – without any frills – which simply tastes best fresh.
Basically, the recipe works with any wheat flour – we had type 550 in the pantry, which suited us, but type 405 or type 630 (spelt) also works well.
For 4 persons
Difficulty: Easy
Expenses: 2-3 Euros
Time Effort: 2 hours
Of which preparation & baking time 1.5 hours
Tools
Rubber gloves for gastronomy, scales, silicone baking mat or baking paper, mixing bowl, mixer with dough hook, proofing basket, baker’s starch, tablespoons, two kitchen towels (cotton)
Ingredients
- Pinch of sugar
- 1kg wheat flour type 550
- 20g Rock salt (red, fine, Pakistan)
- 600 ml water (53°C +/- 1°C)
- 20g yeast (fresh)
Preparation
- Take the 20g of fresh yeast from the fridge a while before starting (This should be at least room temperature!)
- Measure out the flour, salt and water and take the mixing bowl.
- Now mix the wheat flour with the rock salt and also add the pinch of sugar.
- Prepare the tempered water and dissolve the yeast in it.
- Gradually add this mixture to the bowl with the flour/salt/sugar mixture while stirring.
After a short time, a smooth dough will form, then it is time to let it rest.
Hint: Always try your dough – even if there are very few ingredients, people often forget the salt or it tastes sweet…
– Now take a kitchen towel and soak it with warm water, wring it out, double it and cover the mixing bowl with it.
– Place the covered bowl in a warm place for 60 minutes – make sure there is no ventilation while your dough is resting.
Now you have some time to tidy up your kitchen, enjoy a good coffee or prepare for your barbecue session.
Here’s a little YouTube clip – to whet your appetite, so to speak…feel free to leave a comment on the clip on YouTube – Thanks!
On Google Maps: https://goo.gl/maps/uPBqQmeBpcJ1XsGv6
The fermatation time is over – let’s continue
In the meantime, you have probably prepared your baking mat or dusted your worktop with a little flour – the best conditions for the next steps.
- Heat your oven to 230°C
- Flour your hands
- Remove the dough from the mixing bowl and place it on your wortop.
The dough should have a stable consistency and it is not sticky anymore.
- Wrap the dough 6-8 times.
Do this by grabbing the side of the dough ball and pulling it upwards – only as far as necessary to let it fall over the dough ball itself. Rotate the dough clockwise until you have made all the „overturns“.
Important: This procedure serves on the one hand more stability to the dough, but on the other hand it also to obtain a large-pored crumb in the final bread – if you fold too often, the effect will be lost, so be sparing with the repetitions.
- Turn the dough and shape it to your liking.
- Cut the top of the dough a little – of course patterns work here too
- Place the loaf on your baking tray and place in the oven for 20 minutes.
Depending on the type of oven, it may be necessary to rotate the bread – so keep an eye at it and check the colour from time to time.
Note that the height of the bread is also an important factor in baking time and browning. The flatter the dough, the quicker it will be ready – the closer to the heat, the quicker it will burn.
So keep an eye on how quickly your bread takes on colour, if necessary cover the loaf – as soon as it has got enough heat – with aluminium foil.
There are many different ways to bake your bread. In this simple recipe, we simply place the loaf on our baking paper and that’s it. Of course, this can also be done differently. Many people swear on a cast-iron pot with a lid – like a Dutch oven, i.e. a roaster with a lid suitable for the oven, as the grandparents would say. Personally, we have had the best experience with a watered Roman pot – more on this in the coming contributions on the subject of bread.
- Now, open the oven and set it to 180°C.
- Leave the oven door open for a moment while you turn or cover your bread as needed.
- Now close the door again and give the bread another 10-15 minutes – but again under observation.
- Your bread should now be ready.
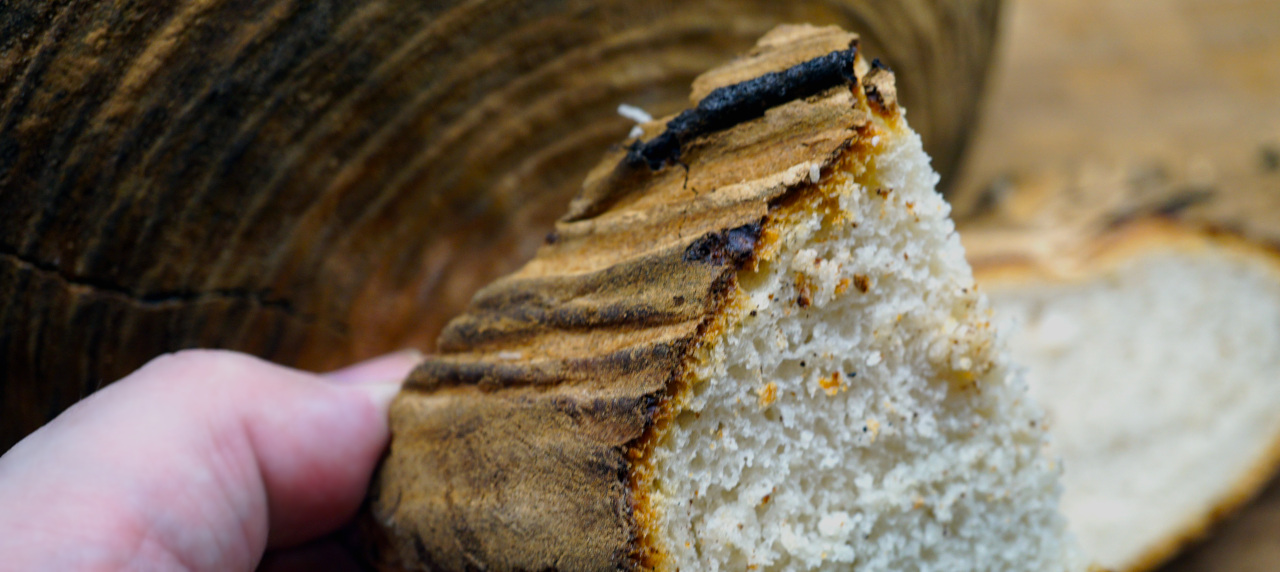
We assume that you have succeeded in making your bread – basically, as always, our description is much more extensive than the actual effort, which we are aware of – but we want to make sure that, based on our recipe, everyone can really come to almost the same result.
And yes, we know that you should let a fresh loaf of bread rest first – some do this for 1-2 hours, with rye breads this can be days. But hey, we were hungry – the bread didn’t last 2 hours – it was delicious!
Of course you can also „pimp“ your dough with herbs, dried tomatoes, olives or black garlic cloves – there are no limits to your imagination. Bear in mind, however, that if you add ingredients that already taste salty, the ammount of salt comming with the basic ingredients must be reduced slightly – otherwise the bread will be oversalted. Our rule of thumb, never more than 20g salt/kilo of processed flour.
That’s it again – be sure to try the bread with our Black Garlic Butter recipe! As always, we wish you bon appétit!