After the second attempt to bake a proper, 100% rye sourdough bread, we unfortunately again did not succeed as desired. There was still no optimal result, so it was time to distract ourselves with a success story.
For a long time, we had been looking for a good, strong and flavourful white bread. Just the kind of white bread some of us remember from our holidays in Italy.
Fortunately, the taste horizon of white bread has not been scratched by the well-known industrial toast. In the “loving bakery”, real raw diamonds can “tumble out” of the few ingredients needed – even when using a type 405 flour.
In today’s recipe, however, we decided to use a combination of several flours. On the one hand to give the bread an even more rustic character, on the other hand in favour of a strong and interesting texture.
A big THANK YOU goes to chef & baker Brian Lagerstrom, who inspired us with his YouTube channel Weeds & Sardines. Brian – who is also a passionate gardener – usually releases a new clip every Thursday that is always worth watching.
We love his friendly manner and the simple and stylish images that always boil down to the essentials. So thank you Brian, we are already looking forward to the many clips you will be releasing in the future!
We were particularly impressed by the baking results using a poolish. During the 16 – 20 hours of fermentation time that the pre-dough should have at least – long-chain structures, more acids and flavours are formed, which benefit the bread.
With such a pre-dough starter, the final bread not only gains mightily in flavour, it also stays fresh longer with the same amount of processed water. In addition, breads with pre-dough require significantly less yeast.
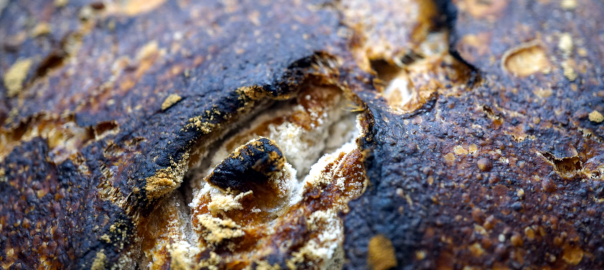
However, another aspect was decisive for us in using a pre-dough – the secret of a fine, but nevertheless MEGA crispy, aromatic and visually super interesting crust.
For 4 persons
Difficulty: Medium
Costs: 5-8 Euros
Preparation time: 24 hours
Of which preparation 22 hours
Tools
Rubber gloves for gastronomy, a scale, silicone baking mat or baking paper, measuring cup (pre-dough), mixing bowl, a tablespoon, proofing basket, baker’s starch, two kitchen towels (cotton)
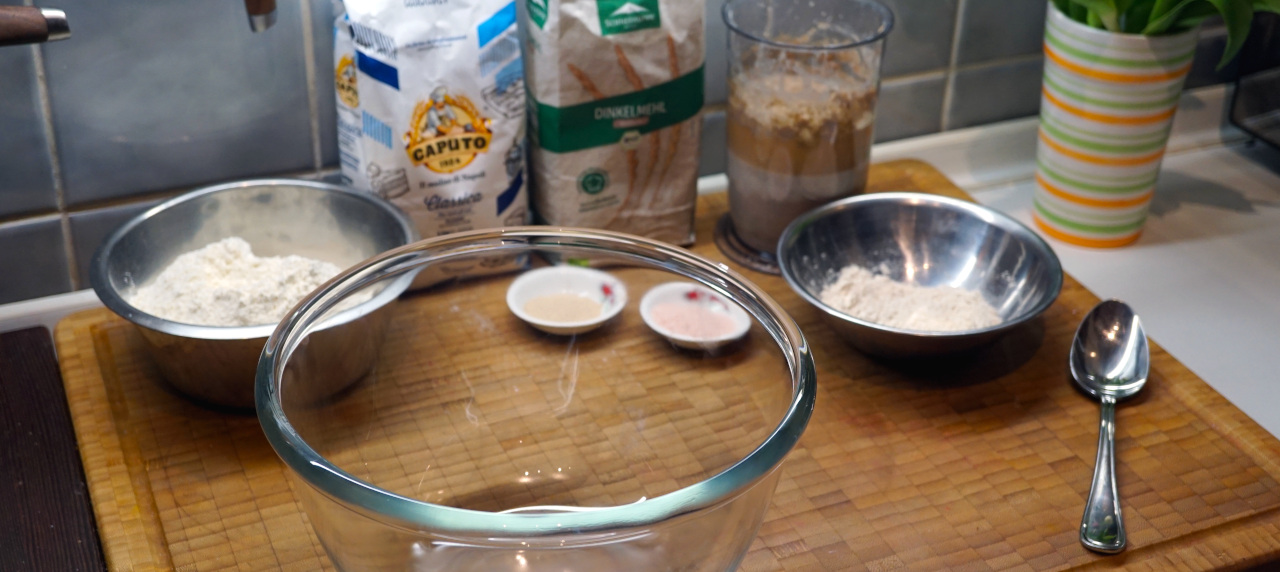
Ingredients for the mixture (prepare 16-20 hours in advance and leave to ferment in a warm, draught-free place).
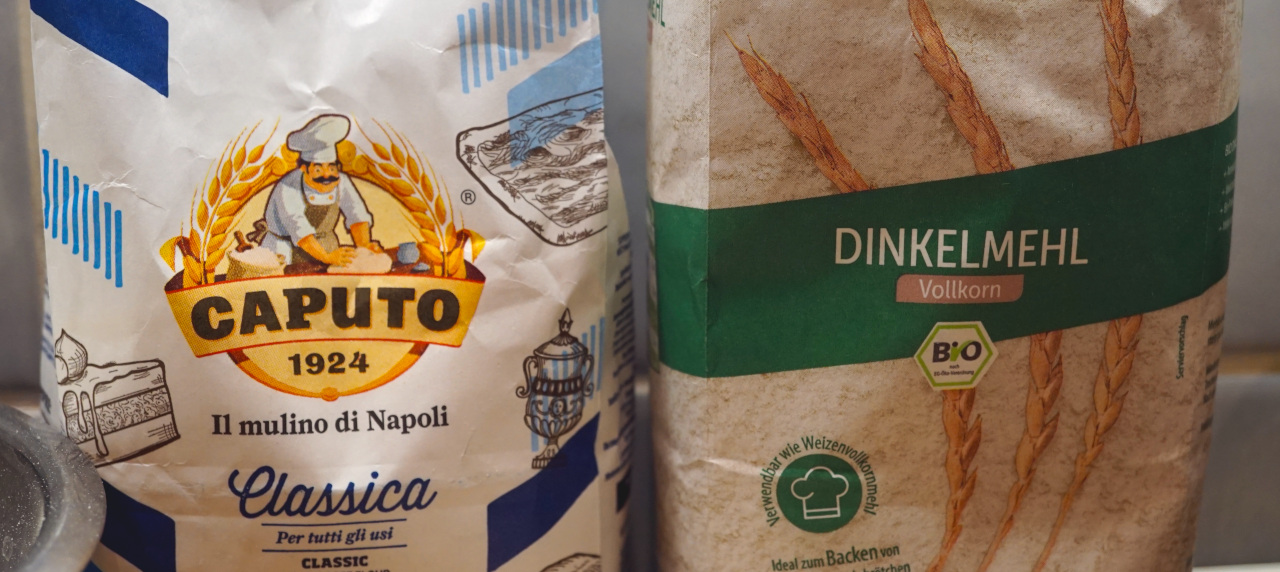
- 150g spelt flour type 630
- 150g water (maximum 53°C)
- 1g dry yeast (dissolved in water)
Ingredients
- 80g spelt flour type 630
- 600g wheat flour type “00” (Italian)
- Pinch of sugar
- 400g water (45-50°C)
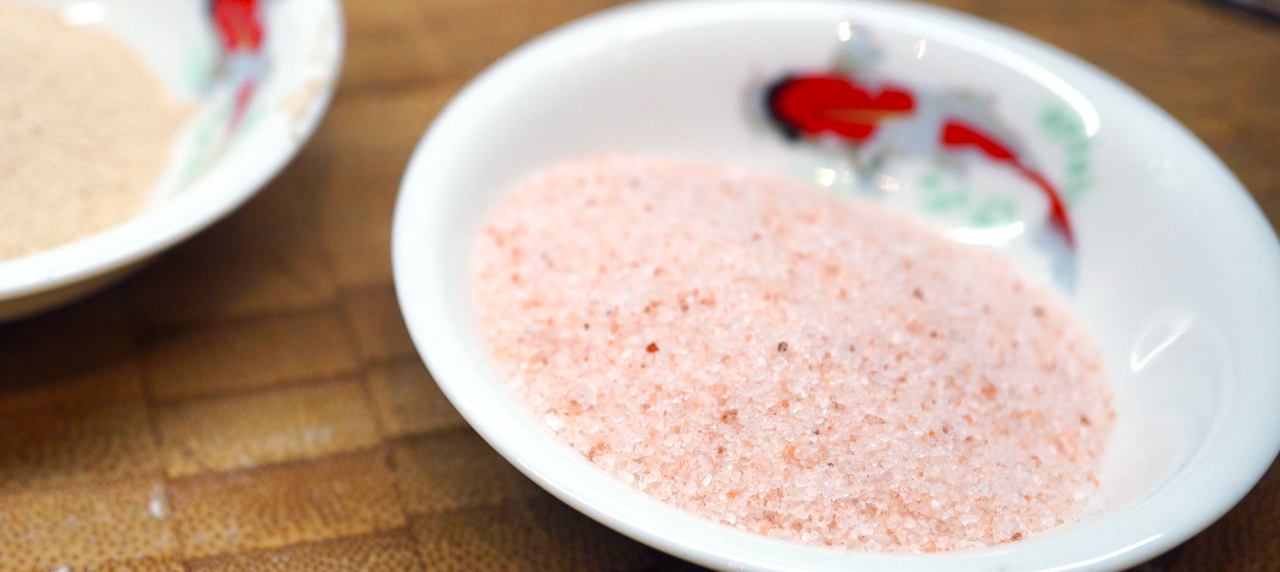
- 23g rock salt (red, fine, Pakistan)
- 3g dry yeast (dissolved in water)
- Bake in a preheated oven in a watered roman pot, closed, at 220°C for 18-20 minutes.
- Then open for 20-25 minutes – done
Detailed procedure
Preparing the pre-dough
To prepare the pre-dough, you basically need a flour of your choice in combination with the same amount of water. The water may have a temperature of up to 53°C – although we found that a temperature around 45°C was sufficient when preparing the pre-dough. If you use more than 150g of flour and water, remember to increase the proportion of dry yeast in the same ratio.
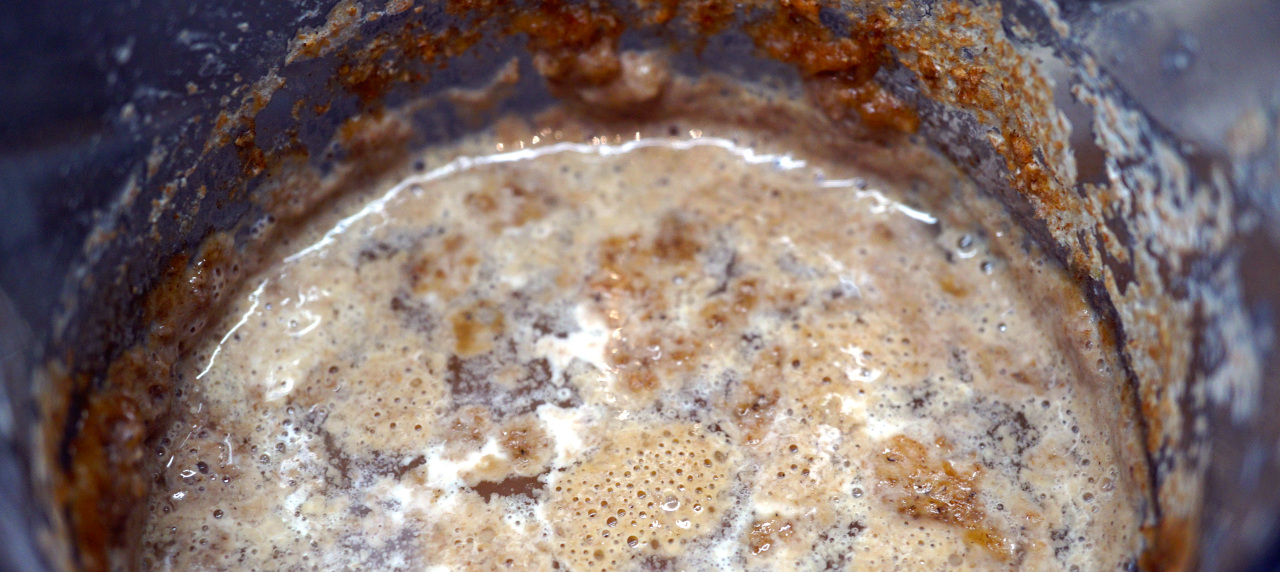
Mix the three ingredients well in a sufficiently large measuring cup and then place the result at a warm, draught-free place, covered with a damp cloth, for at least 16, preferably 20 hours. It is best to calculate the ideal time for mixing the pre-dough – starting from the time when you want to eat the cooled bread. Since ideal results are possible from 16 hours of resting time, you always have a comfortable time span of around 4 hours until further processing.
The next day
- First, get the large mixing bowl ready and fill it with warm water.
- Now dissolve the dry yeast in the water.
- Then add the pinch of sugar and the salt.
- Now it is time to dissolve your pre-dough in the mixture.
It is best to mix it again with a tablespoon – it is important that the dried parts are also mixed in!
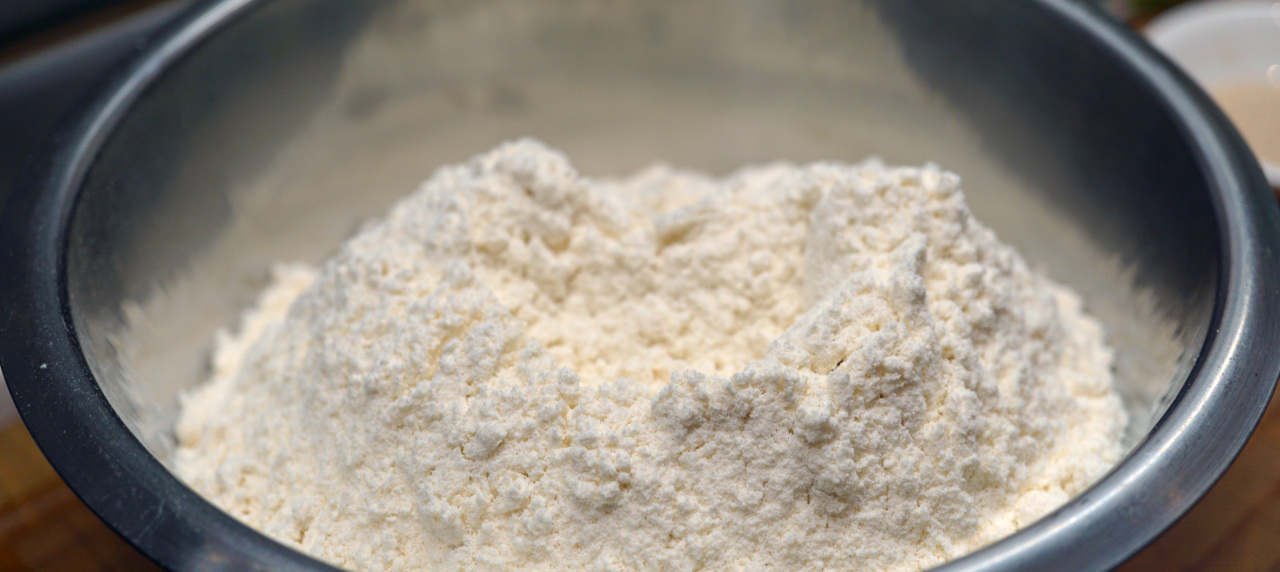
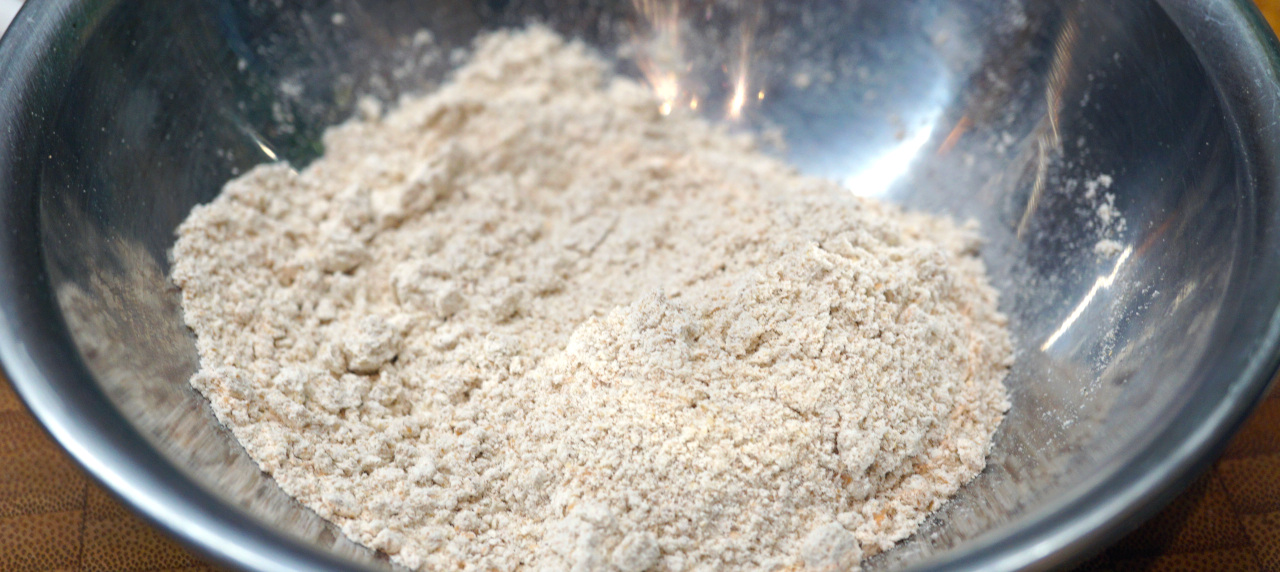
- Now please add the spelt flour first while stirring.
- Now add the wheat flour little by little, stirring constantly.
At this point, you may be tempted to add more water – but please wait, because it will become clear that the amount of water is completely sufficient.
The amount of water in the dough is also responsible for the shelf life of the bread, so of course you should never use too little water. On the other hand, using too much water can lead to your bread remaining soggy on the inside during the intended baking time and the bread crumb not really being baked through.
If you then want to rescue your bread, it has to be heated for longer to dehumidify the inside – but this often ends up with a crust that is too dark.
My recommendation in this case. If the bread is still moist inside, simply put it back into the oven while it is still warm but switched off – you can often rescue the bread this way.
You should now have mixed a reasonably smooth dough with a tablespoon – without any need of your high-end mixing equipment.
- Now prepare a bowl of cold water, wet your hand and knead the dough again manually while turning the bowl.
- Now take a kitchen towel and wet it with warm water.
- Wring out the kitchen towel, double it and cover the mixing bowl with it.
- Place the covered bowl at a warm place for 60 minutes – make sure there is no ventilation (open windows, etc.) while your dough is resting.
Now you have some time to tidy up your kitchen, enjoy a good coffee or prepare for your barbecue session.

The hour is up…let`s continue
- Check your dough – it should have risen properly and the volume of the dough should have increased by at least 30-40%.
- Wet your hands with cold water again and punch the dough 10-12 times. Do this by grabbing the side of the dough ball and pulling it upwards (until just before it “tears”) and then letting it fall over the dough ball. Turn the bowl until you have made 10-12 folds.
Important: Do not repeat this too often – on the one hand, this procedure serves to bring more stability into the dough ball, but also to obtain a large-pored crumb in the final bread.
After this, the dough ball has clearly gained in shape and stability.
- Now lift the dough ball 5-6 times, turn the lower part in a little and let the ball fall back into the bowl.
- This again helps the stability of the dough and the final appearance of the crumb.
- Then take the kitchen towel and soak it with warm water, wring out the towel, double it and cover the mixing bowl with it.
- Put the covered bowl back at your warm place – this time for another 30 minutes.
- Now prepare the proofing basket – remember to put some starch in it first – especially with a dough that contains a lot of water, this makes sense to avoid sticking.
- Prepare the baking mat and put some flour on it (preferably with the help of a sieve).
When the 30 minutes are up, your dough should have gained volume – especially large air bubbles.
- Now lift the dough out of the bowl and place it on the floured baking mat.
- Now grab one “corner” at a time and knock it into the centre of the ball. Turn the dough ball so that it looks like a bundle. This gives the dough a good structure and texture.
- Now place the dough upside down (smooth side up) in the proofing basket, add some flour and cover it.
- Put the proofing basket back in its warm place – this time for the final 30 minutes of proofing.
Here’s a little YouTube clip – to whet your appetite, so to speak…feel free to leave a comment on the clip on YouTube – Thanks!
On Google Maps: https://goo.gl/maps/uPBqQmeBpcJ1XsGv6
On the home stretch
The preparation of the dough is now complete and it is time to prepare the baking tin you have chosen – although you can of course do without it – and to bring the oven up to operating temperature.
If you plan to grill afterwards – be sure to check out our recipe for melon with goat cheese, in combination with the fresh white bread you could almost do without meat here…
- Once the 30 minutes are up, take the proofing basket and invert it onto the baking mat.
- Lightly flour your hands and gently press the dough ball into the shape you want it to be.
Be careful not to damage the many air inclusions, as these are what we want in our final bread – so shape very gently!
…continues
- Pour the dough directly onto the baking paper or into your baking tin.
- Now put it into the preheated oven – in our gas oven we chose the middle rack at 200°C and rotated the tray 180° for the first time after 15 minutes. This shouldn’t be necessary in a modern fan oven – but it’s best to stick to it all the time, so your bread doesn’t get too dark.
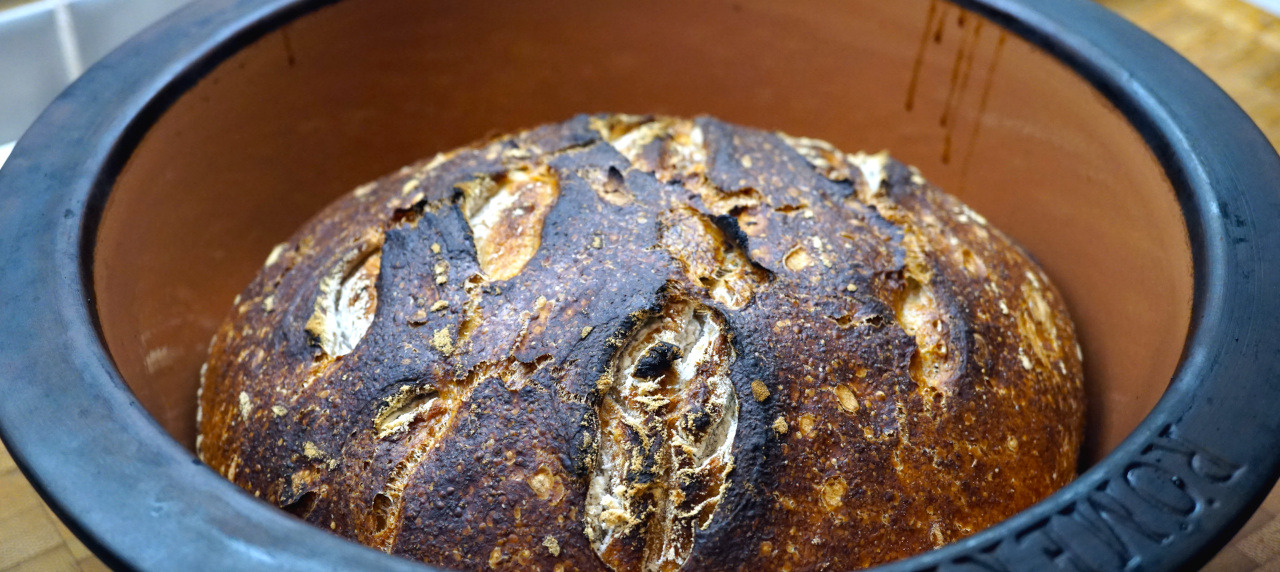
- After the first half hour of baking, the bread should have risen properly and have a well-formed brown crust.
- Now set the oven to 160°C and put the bread – if you have used a tin before, now without it – back into the oven for another 15-20 minutes.
Attention: As mentioned before – stick to your bread, depending on the type of oven and heating method, it can quickly happen that the bread becomes too dark or too dry – invest the time, it pays off!
- Your bread is ready!
We assume, of course, that you have succeeded in making your bread – basically, our description is again considerably more extensive than the actual effort – which we are aware of – but we want to make sure that everyone can achieve almost the same result with the help of our recipe.
You can also “pimp” your dough with herbs, dried tomatoes, olives or black garlic cloves – there are no limits to your imagination. Bear in mind, however, that if you add ingredients that are already salty, the ammount of salt comming with the basic ingredients must be reduced somewhat – not that the bread ends up oversalted – we always plan for about 20g of salt per kilogram of flour.
We always cut the bread for you immediately after baking – of course, a lot of moisture is lost. But we always want to include some appealing moving pictures for you – but don’t worry, so far hardly any of our breads have “lasted” longer than 2-3 hours…by then they are usually completely eaten.
So much for now – do not forget to try our black garlic butter with your bread!
As always, we wish you Bon appétit!