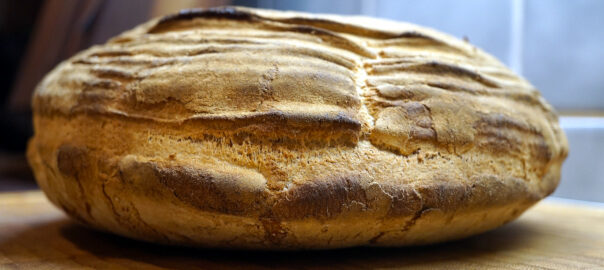
Here is the absolute classic when it comes to conjuring up fresh bread on the table in no time at all. An honest white bread – without any frills – which simply tastes best fresh.
Basically, the recipe works with any wheat flour – we had type 550 in the pantry, which suited us, but type 405 or type 630 (spelt) also works well.
For 4 persons
Difficulty: Easy
Expenses: 2-3 Euros
Time Effort: 2 hours
Of which preparation & baking time 1.5 hours
Tools
Rubber gloves for gastronomy, scales, silicone baking mat or baking paper, mixing bowl, mixer with dough hook, proofing basket, baker’s starch, tablespoons, two kitchen towels (cotton)
Ingredients
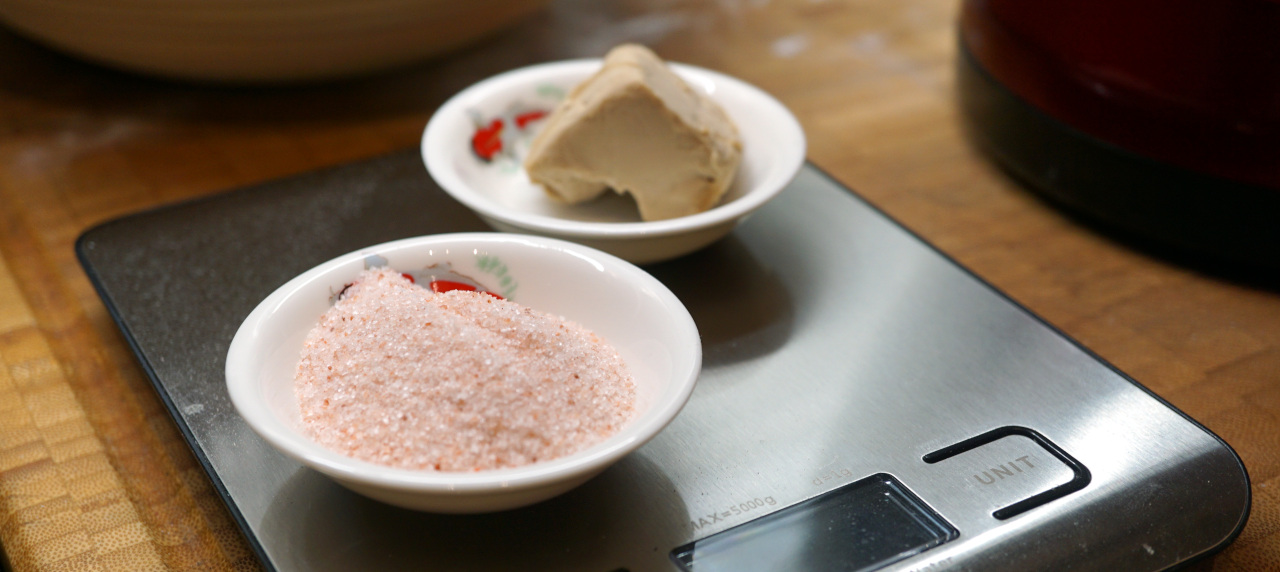
- Pinch of sugar
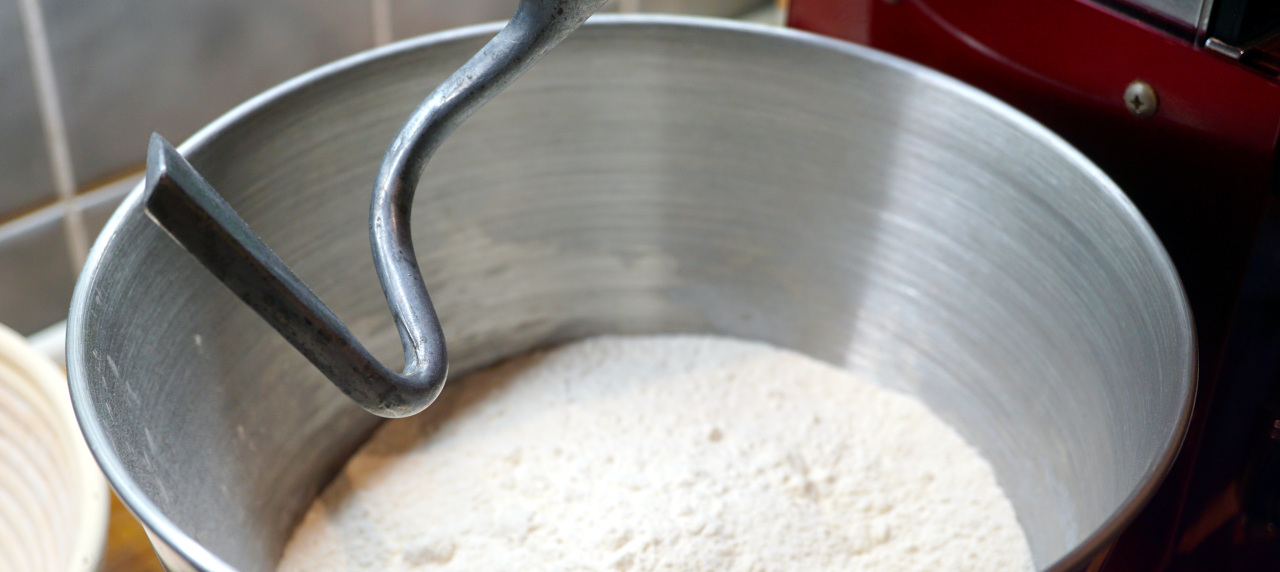
- 1kg wheat flour type 550
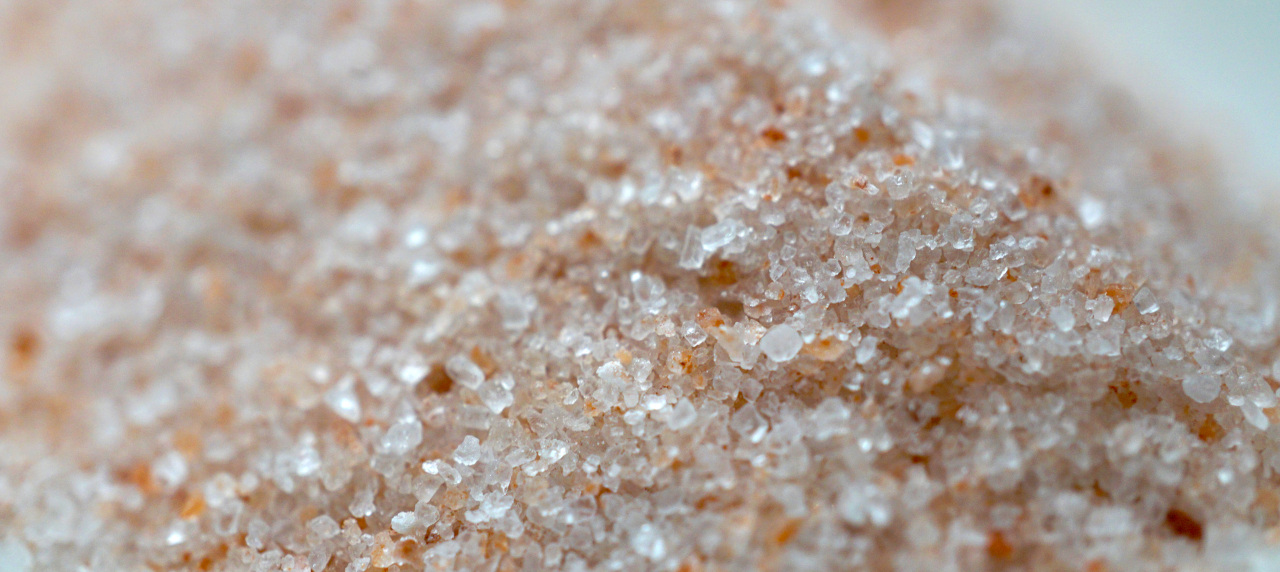
- 20g Rock salt (red, fine, Pakistan)
- 600 ml water (53°C +/- 1°C)
- 20g yeast (fresh)
Preparation
- Take the 20g of fresh yeast from the fridge a while before starting (This should be at least room temperature!)

- Measure out the flour, salt and water and take the mixing bowl.
- Now mix the wheat flour with the rock salt and also add the pinch of sugar.
- Prepare the tempered water and dissolve the yeast in it.
- Gradually add this mixture to the bowl with the flour/salt/sugar mixture while stirring.
After a short time, a smooth dough will form, then it is time to let it rest.
Hint: Always try your dough – even if there are very few ingredients, people often forget the salt or it tastes sweet…
– Now take a kitchen towel and soak it with warm water, wring it out, double it and cover the mixing bowl with it.
– Place the covered bowl in a warm place for 60 minutes – make sure there is no ventilation while your dough is resting.
Now you have some time to tidy up your kitchen, enjoy a good coffee or prepare for your barbecue session.
Here’s a little YouTube clip – to whet your appetite, so to speak…feel free to leave a comment on the clip on YouTube – Thanks!
On Google Maps: https://goo.gl/maps/uPBqQmeBpcJ1XsGv6
The fermatation time is over – let’s continue

In the meantime, you have probably prepared your baking mat or dusted your worktop with a little flour – the best conditions for the next steps.
- Heat your oven to 230°C
- Flour your hands
- Remove the dough from the mixing bowl and place it on your wortop.
The dough should have a stable consistency and it is not sticky anymore.
- Wrap the dough 6-8 times.
Do this by grabbing the side of the dough ball and pulling it upwards – only as far as necessary to let it fall over the dough ball itself. Rotate the dough clockwise until you have made all the “overturns”.
Important: This procedure serves on the one hand more stability to the dough, but on the other hand it also to obtain a large-pored crumb in the final bread – if you fold too often, the effect will be lost, so be sparing with the repetitions.
- Turn the dough and shape it to your liking.
- Cut the top of the dough a little – of course patterns work here too
- Place the loaf on your baking tray and place in the oven for 20 minutes.
Depending on the type of oven, it may be necessary to rotate the bread – so keep an eye at it and check the colour from time to time.
Note that the height of the bread is also an important factor in baking time and browning. The flatter the dough, the quicker it will be ready – the closer to the heat, the quicker it will burn.
So keep an eye on how quickly your bread takes on colour, if necessary cover the loaf – as soon as it has got enough heat – with aluminium foil.
There are many different ways to bake your bread. In this simple recipe, we simply place the loaf on our baking paper and that’s it. Of course, this can also be done differently. Many people swear on a cast-iron pot with a lid – like a Dutch oven, i.e. a roaster with a lid suitable for the oven, as the grandparents would say. Personally, we have had the best experience with a watered Roman pot – more on this in the coming contributions on the subject of bread.
- Now, open the oven and set it to 180°C.
- Leave the oven door open for a moment while you turn or cover your bread as needed.
- Now close the door again and give the bread another 10-15 minutes – but again under observation.
- Your bread should now be ready.
We assume that you have succeeded in making your bread – basically, as always, our description is much more extensive than the actual effort, which we are aware of – but we want to make sure that, based on our recipe, everyone can really come to almost the same result.
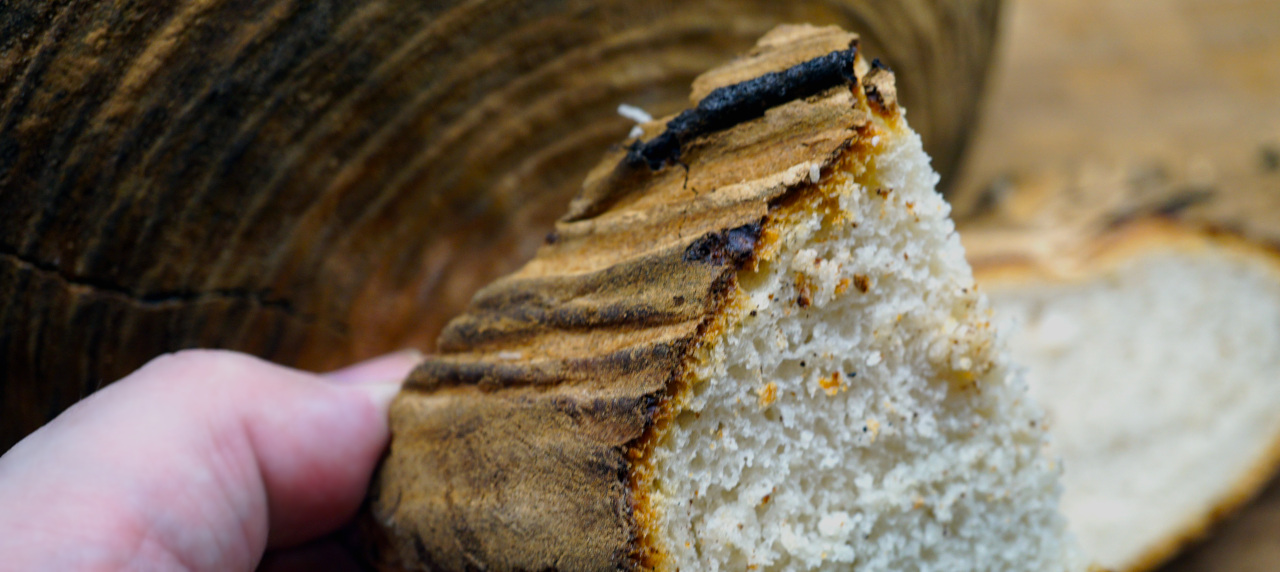
And yes, we know that you should let a fresh loaf of bread rest first – some do this for 1-2 hours, with rye breads this can be days. But hey, we were hungry – the bread didn’t last 2 hours – it was delicious!
Of course you can also “pimp” your dough with herbs, dried tomatoes, olives or black garlic cloves – there are no limits to your imagination. Bear in mind, however, that if you add ingredients that already taste salty, the ammount of salt comming with the basic ingredients must be reduced slightly – otherwise the bread will be oversalted. Our rule of thumb, never more than 20g salt/kilo of processed flour.

That’s it again – be sure to try the bread with our Black Garlic Butter recipe! As always, we wish you bon appétit!