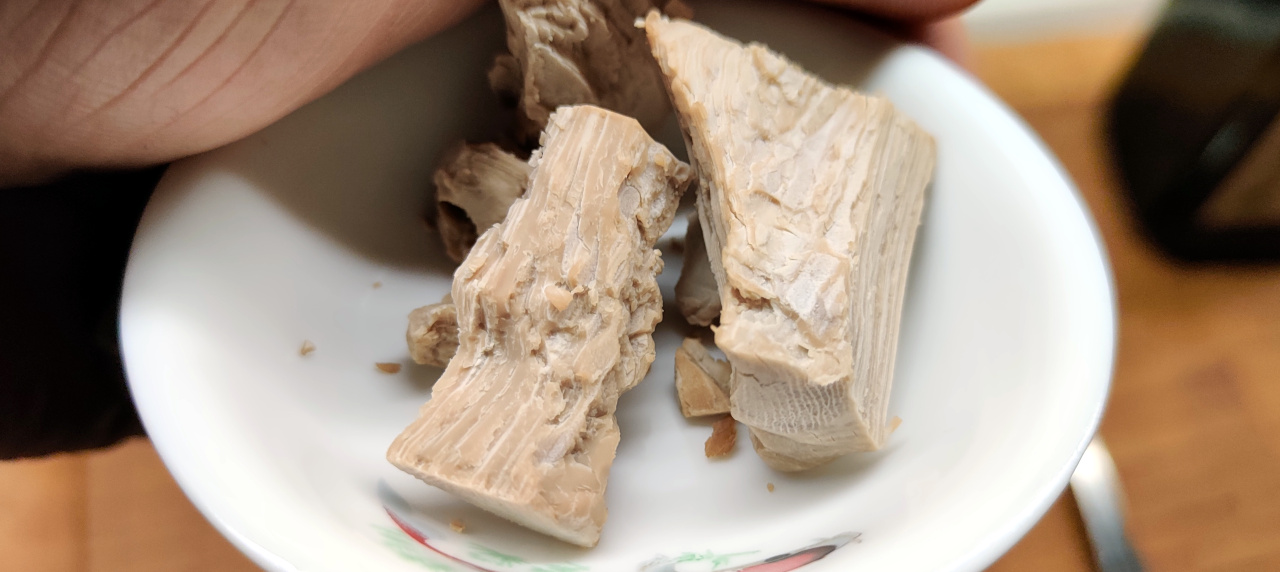
Somehow it was time again, for another bread variation – a kilo of the good organic spelt flour was still quite innocent in the pantry and the Mortadella cried out for a good fresh white bread.
Our first bread this year, was already an organic spelt bread – which has convinced us taste but so that we can not get enough of it now. Great is of course that the effort for such a bread is very manageable and thus in the best ratio to the culinary added value.
Here’s a little YouTube clip – to whet your appetite, so to speak…feel free to leave a comment on the clip on YouTube – Thanks!
For 4 persons
Difficulty Level: Easy
Expenses: 3-4 Euro
Time Effort: 2,5 Hours
Of which preparation takes 1.5 hours
Tools
Gastro rubber gloves, scale, silicone baking mat or baking paper, mixing bowl, mixer with dough hook, proofing basket, baker’s starch, tablespoon, two kitchen towels (cotton).
Ingredients
- Pinch of sugar
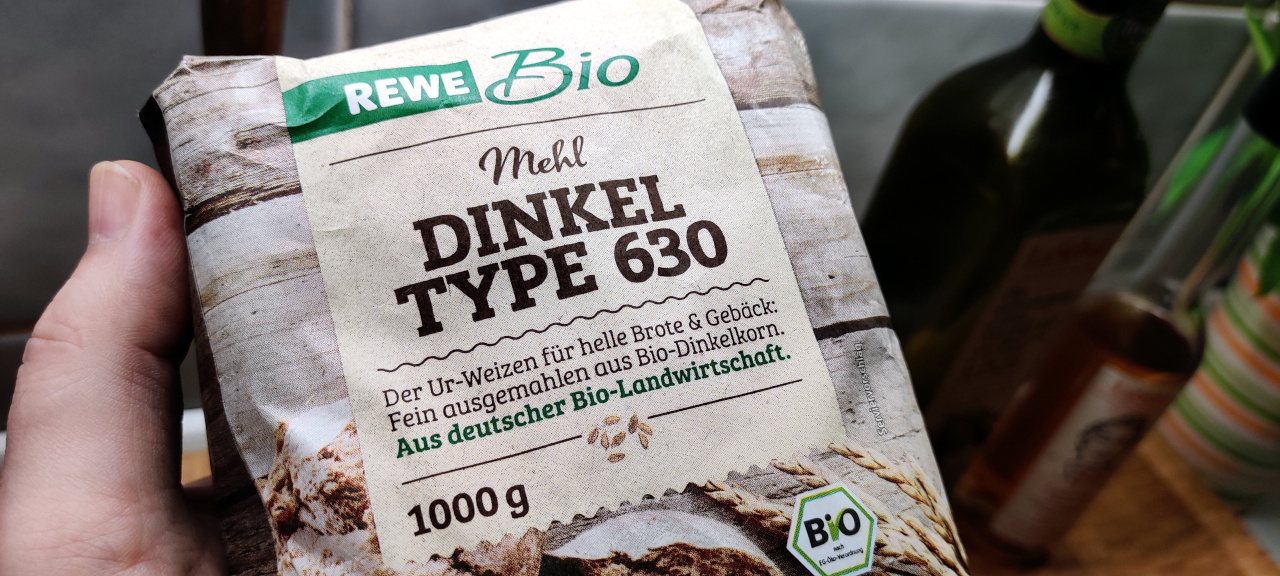
- 1kg spelt flour type 630
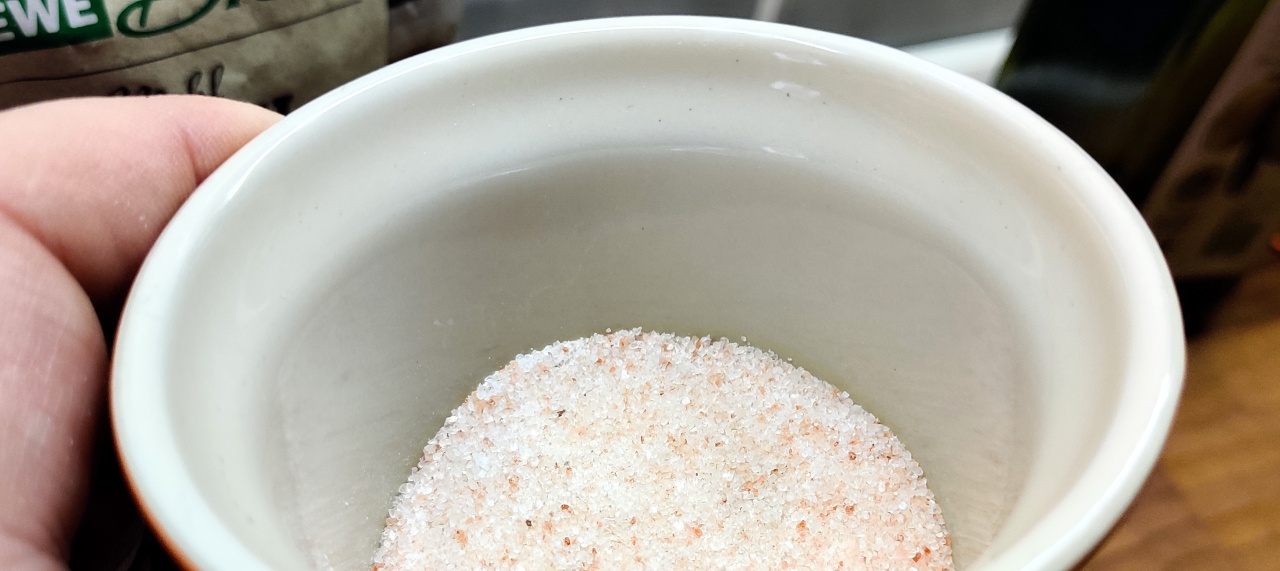
- Rock salt (red, fine, Pakistan) 23g
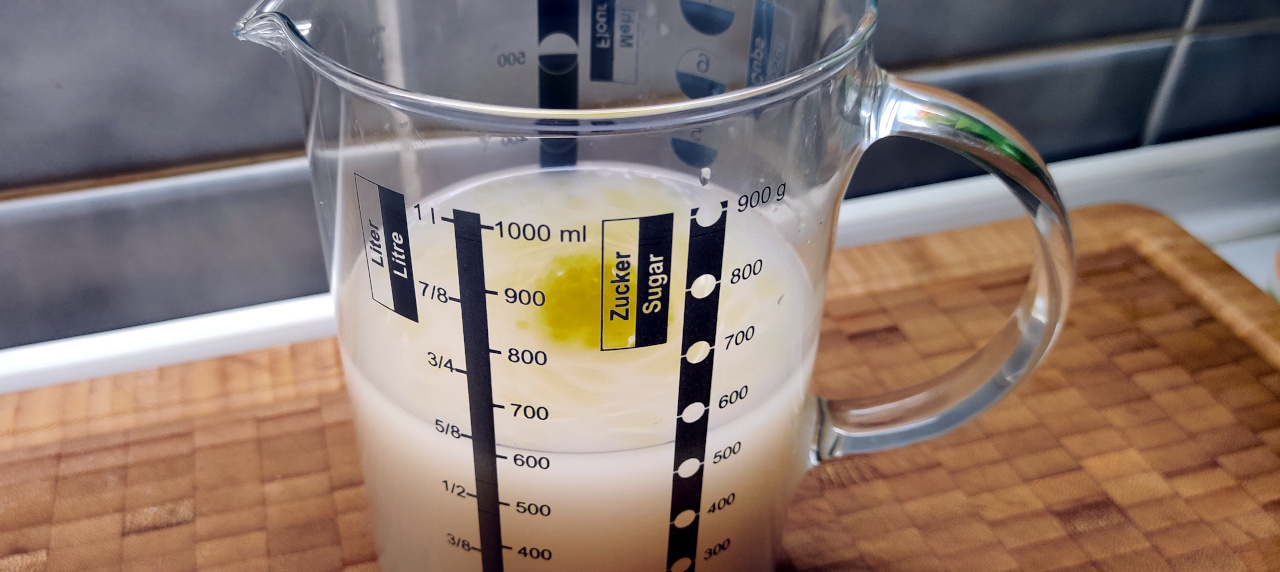
- Water 675 ml (53°C)
- 10g yeast (fresh)
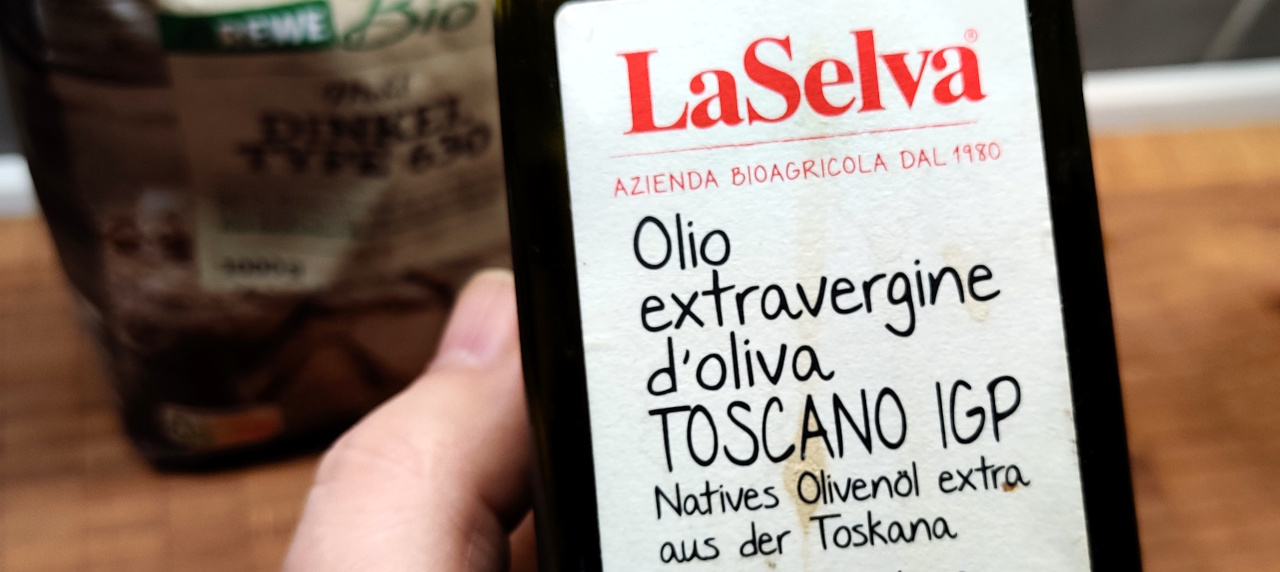
- 1 tablespoon virgin olive oil
- 1 tablespoon white balsamic vinegar
This time we have also experimented a little by adding both olive oil and vinegar to the dough. The oil provides here for that little bit more in smoothness and the vinegar contributes in addition to a light fresh note especially to the shelf life – not that our bread would “survive” more than two days … this time half the loaf was already eaten after a good twenty minutes.
But this time we have also adjusted the water content – basically, the rule is – the more water, the longer shelf life – because basically breads dry out sooner before they spoil.
Of course, a higher water content also contributes to the fact that the dough tends to exhibit a “flowing behavior”. In this case, the proofing basket helped with rising, but the dough was a bit too “agile” to just put it on the baking sheet.
Here we helped ourselves with a glass baking dish in “box bread format”. Of course, Roman pots, casserole dishes, etc. can also be used here – the main thing is that the dough can no longer flow. Please always make sure that you put separating agents (flour, baker’s starch, breadcrumbs, etc.) into the mold, because you are baking in two stages.
With the amount of dough in the first throw a baking time of 25-30 minutes at 200°C is sufficient. Make sure that – if you do not bake the first stage in a closed mold – the bread does not get too dark. If necessary, simply cover the whole thing with aluminum foil after a good 15 minutes.
Once the 30 minutes ar
 e up, take the bread out of the pan and bake it for another 25 minutes at 180°C. You should definitely stick with it for the second pass and make sure that the bread gets the degree of color & crispness that you prefer. This can vary in speed, regardless of your preference, depending on the oven and mode.
Detailed procedure
Preparation
- First, put the flour in a mixing bowl of your choice. Make sure that there is enough room for the other ingredients beyond the flour.
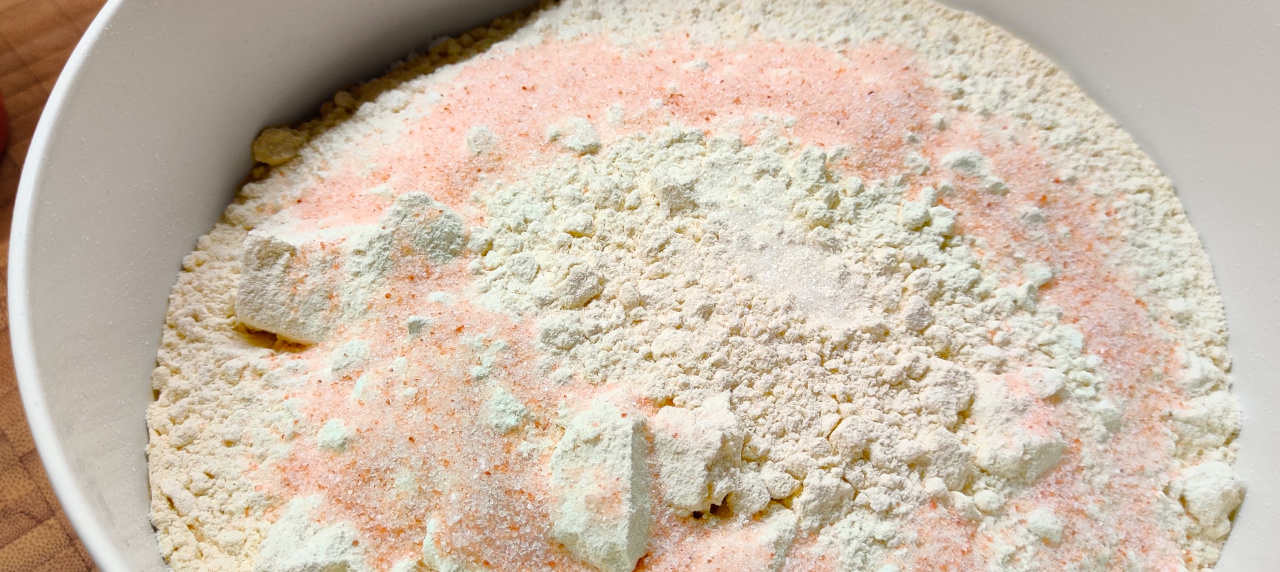
- Now add the pinch of sugar and the salt to the flour.
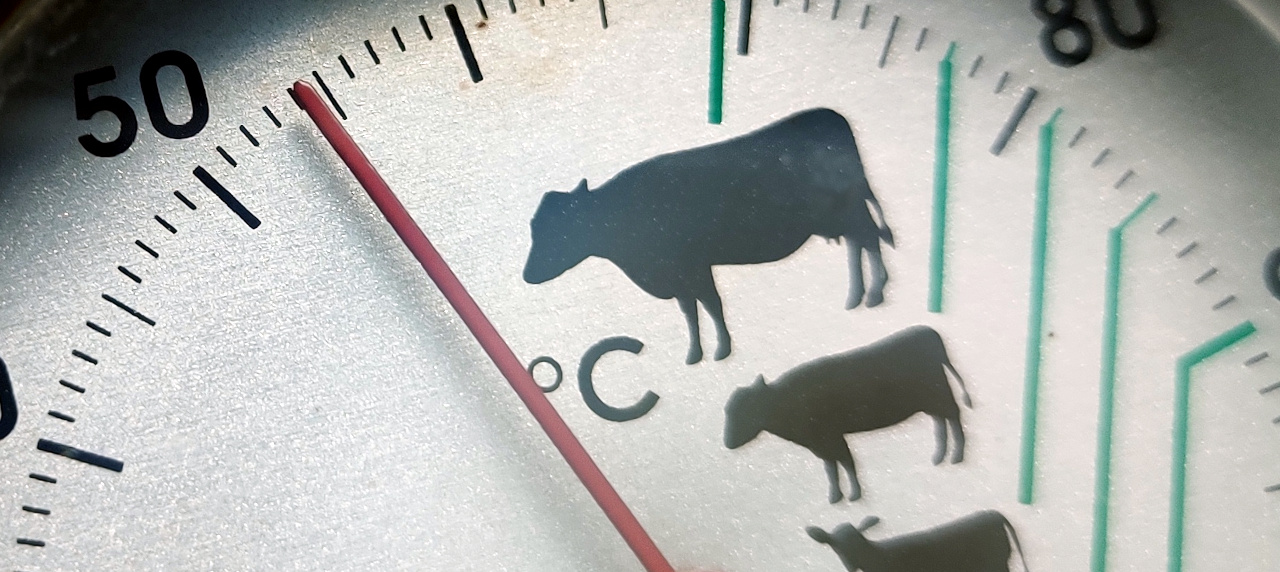
- Heat the prepared water (50°C to 53°C).
- Make sure that the yeast is at room temperature and dissolve it in the heated water.
- Now add the vinegar to the water/yeast mixture and mix it.

- Now add the olive oil and mix again
- Now it’s time to “marry” the flour mixture with the “water”.
- Take your hand mixer or stand mixer with dough hook and gradually add the ingredients to your mixing bowl, stirring until you get a smooth dough.
- Now soak a “fresh” kitchen towel with warm water take this double and cover the mixing bowl with it.
- The covered bowl, you then put in a place near a radiator – make sure that here is not ventilated as long as your dough – for an hour – should find rest.
So – the preparations are done, it’s time to bring some order back into the kitchen, enjoy a good coffee or prepare your subsequent barbecue session.
…let`s go on
- Check your dough – it should have risen properly and the dough volume should have increased by at least 30-40%.
- Now lay out the baking mat and some flour and put the dough on it.
- Now lightly flour your hands and start rolling the dough.
- After this put the dough into a proofing basket of your choice – remember to add some baker’s starch – especially with a dough that contains a lot of water this makes sense to prevent sticking
- Now add some flour to the mixture and put the whole thing – again covered – for another 30 minutes in “your warm place”.
So – the preparation of the dough is now complete and it is time to prepare your chosen baking pan and bring the oven to operating temperature. If you plan to grill afterwards – be sure to check out our recipe for melon with goat cheese, in combination with the fresh white bread you could almost do without meat here…
…on it goes`s
The second fermentation is now complete and the dough is ready for the preheated oven.
- Put the dough now directly into your baking dish
- Put it into the oven – on our gas oven we chose the middle rack at 200°C and turned the pan after 15 minutes – this should not be necessary on a modern convection oven – but stay with it, don’t let your bread get too dark.
- After the first half hour of baking, the bread should have risen properly and have a well-formed brown crust.
- Take the bread out of the pan and put it back into the oven at 180°C for another 25 minutes.
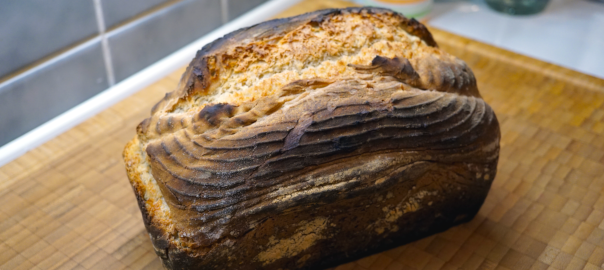
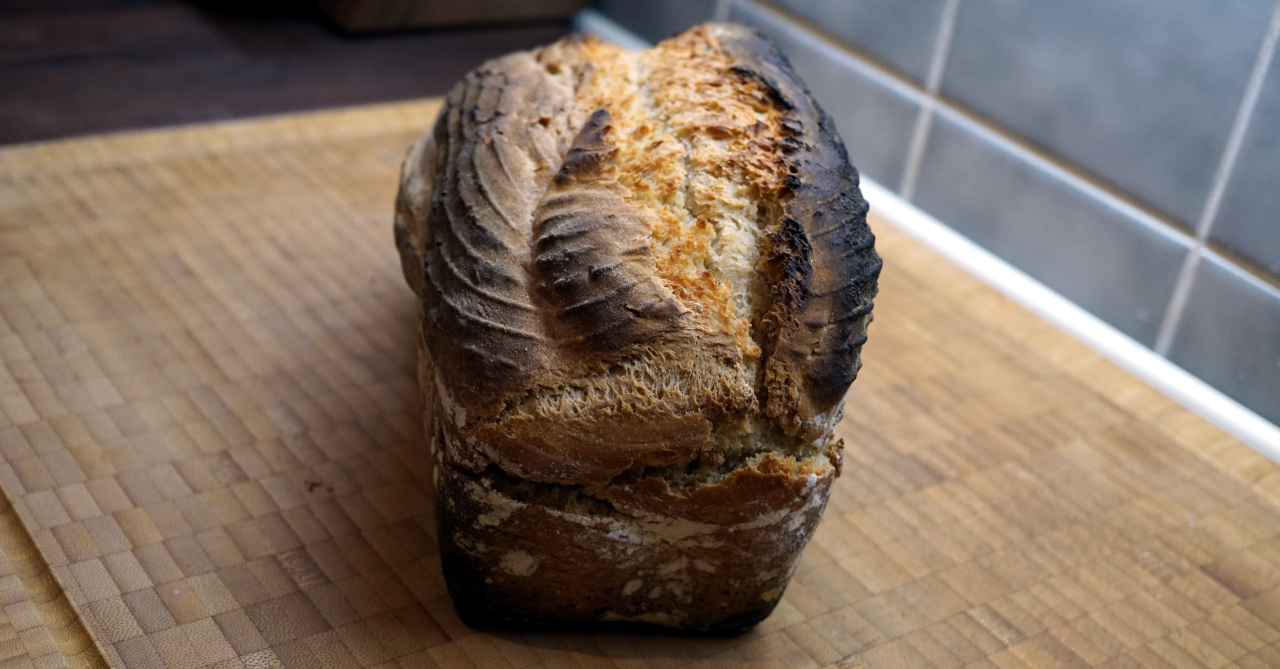
- Your bread is ready!
Attention: As mentioned before – stay with your bread, depending on the type of oven and heating method, it can quickly happen that the bread becomes too dark or too dry – invest the time, it pays off!
We assume that you have succeeded in making your bread – basically, our description is much more extensive than the actual effort, which we are aware of – but we want to make sure that based on our recipe really everyone can come to almost the same result.
Of course you can “pimp” your dough with herbs, dried tomatoes, olives or black garlic cloves – there is no limit to your imagination. Keep in mind, however, that if you add ingredients that are already salty, the salt content of the base ingredients to take back something – not that bread is salted afterwards – we always plan per kilogram of flour about 20g of salt.
As far as from us, try with the bread necessarily also our recipe to the black garlic butter! As always, we wish you a good appetite!