After the many barbecues during the last days, it was time to take something out of the oven and onto the table. So, the fresh Icelandic leg of lamb came just in time – here my recipe for a delicious and uncomplicated dish:
For 4 persons
Difficulty Level: Moderately Difficult
Expenses: 35-55 Euro
Time Effort: 2-3 hours
preparation 20 – 30 minutes
Tools
A sharp, narrow knife – preferably a boner, rubber gloves for the catering, a good pan (cast iron grill pan), a Roman pot or a sufficiently large/high casserole dish, a plastic cutting board
Ingredients
- One VIKINGYR leg of lamb, approx. 1.8 – 2.3 kg
- 1 large red onion (quarter)
- 8 cloves of black garlic (for larding)
- 1-2 carrots (peeled and cut into large pieces)
- 500g strained/cut tomatoes
- 400g sweet cream
- 1 tbsp virgin olive oil
- 1 tsp INKA sun salt or a good salt of your choice
- Coarsely ground black pepper (quantity and grinding degree as desired)
- 2-3 bay leaves
- ½ tsp sugar
Preparation
To begin with, it is important to bring the leg of lamb to room temperature, i.e. unpack it and, if shrink-wrapped, dab it dry and keep it ready until the meat is at a suitable temperature.
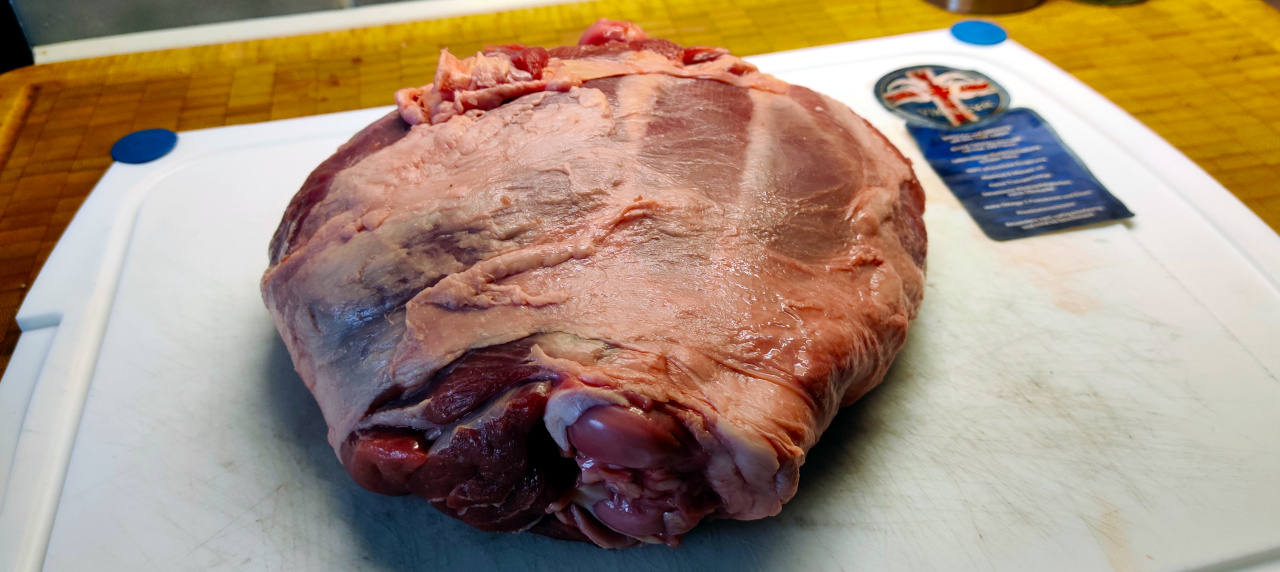
Now find a casserole dish suitable for the leg of lamb or use a Roman pot (don’t forget to water it). Have a plastic cutting board ready – plastic because you will also cut the black garlic on it, so it would be a pity if you colour your favourite wooden board…
Now peel the carrots and cut them into large pieces and peel the red onion and cut it into quarters. Put both into the casserole with the bay leaves.


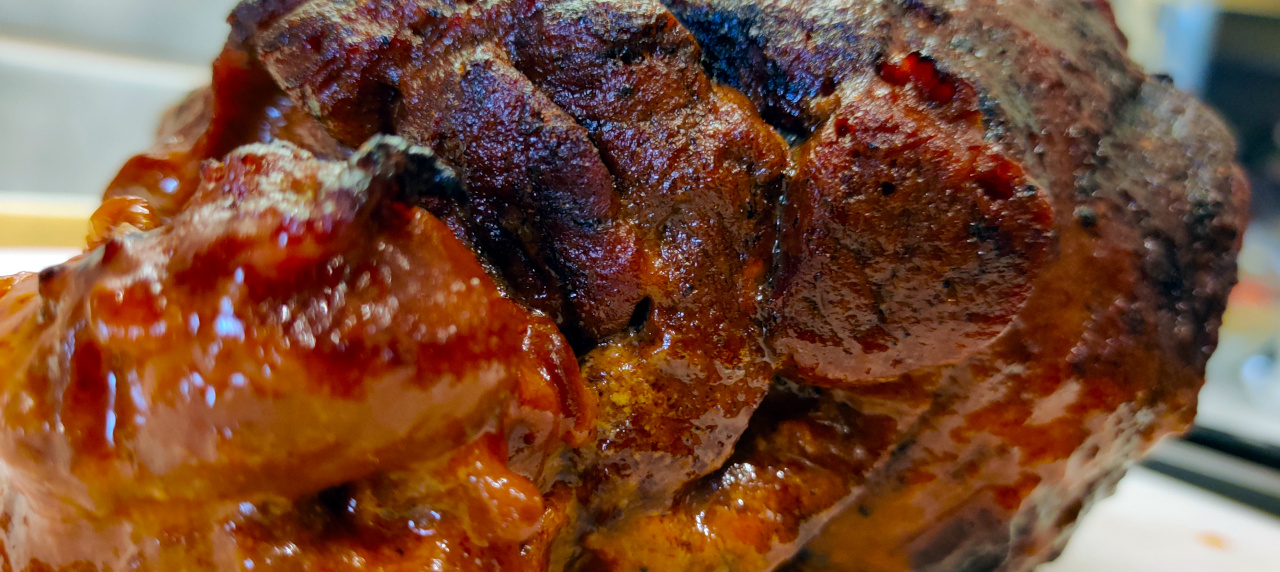
You can “start” the oven now – with 200°C you are well on the way. At the same time, you put the pan on the stove and devote yourself to the – now well tempered – leg of lamb. Begin by piercing fine channels into the meat with the boner, into which you “sink” some of the black garlic. Use the side of the knife to let the garlic slide easily into the meat (if necessary, you can help with a drop of olive oil).

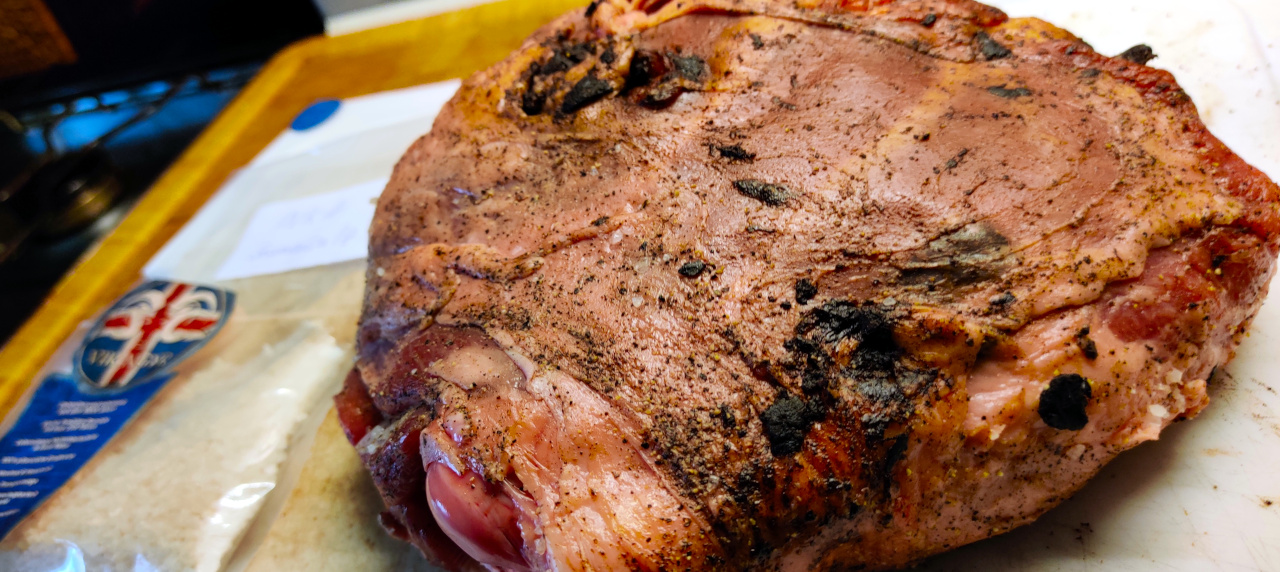
The leg of lamb should now be evenly larded and can now be further seasoned. In order to preserve the taste of the lamb, I only use pepper and salt. For the salt I used a *INKA sun salt – this salt comes from the Peruvian Andes, more precisely from Maras, halfway to Machu Picchu.
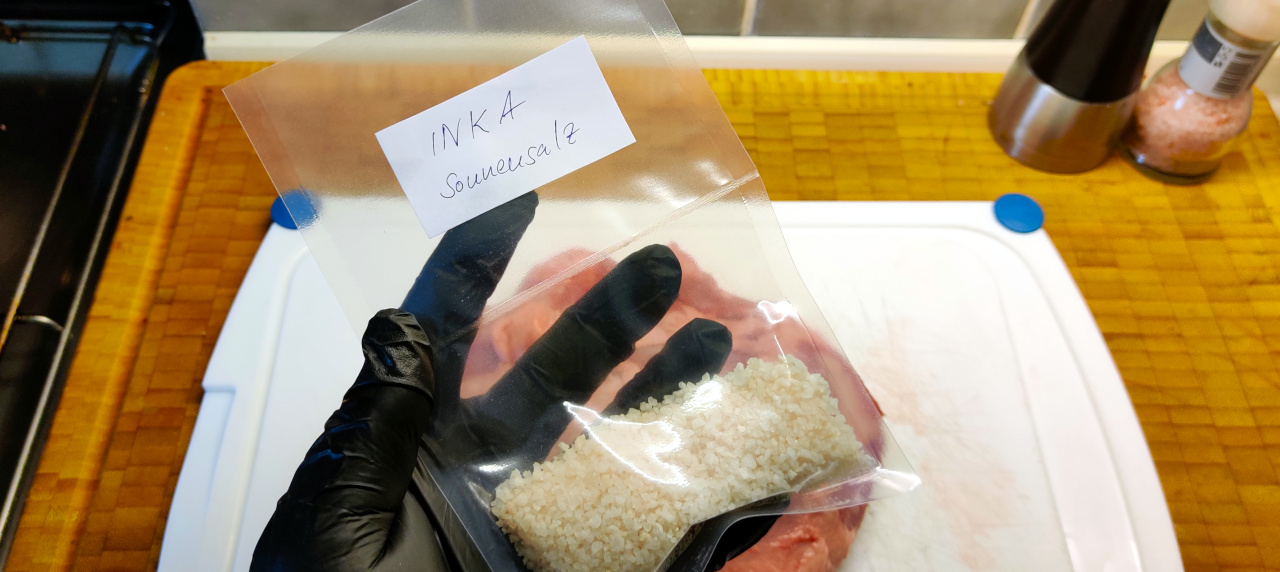

It is traditionally made by hand, by evaporation of spring water. It has a high mineral content, contains natural iodine and has a slightly yellowish colour – with its coarse grain size it is just the right salt for our leg of lamb.
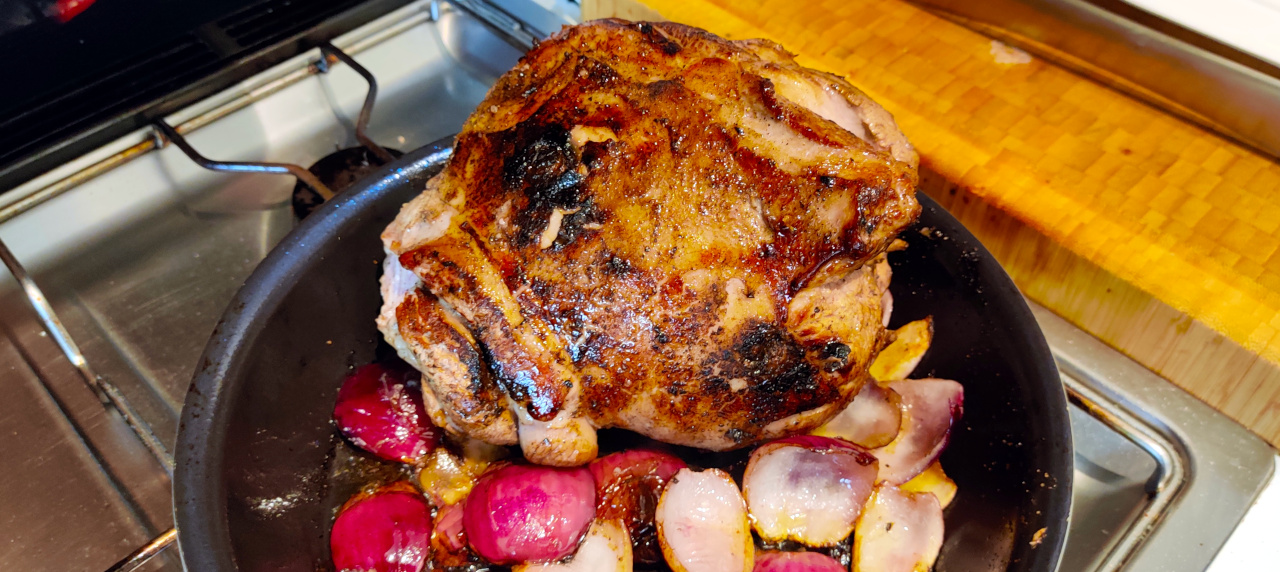
Now the leg of lamb is given freshly ground pepper and moistened all around with olive oil. Now the time has come to “fire up” the pan to roast the leg of lamb properly from all sides, so that the first roasting aromas are already provided before the oven (this way your leg of lamb does not lose so much of the meat juice in the oven).
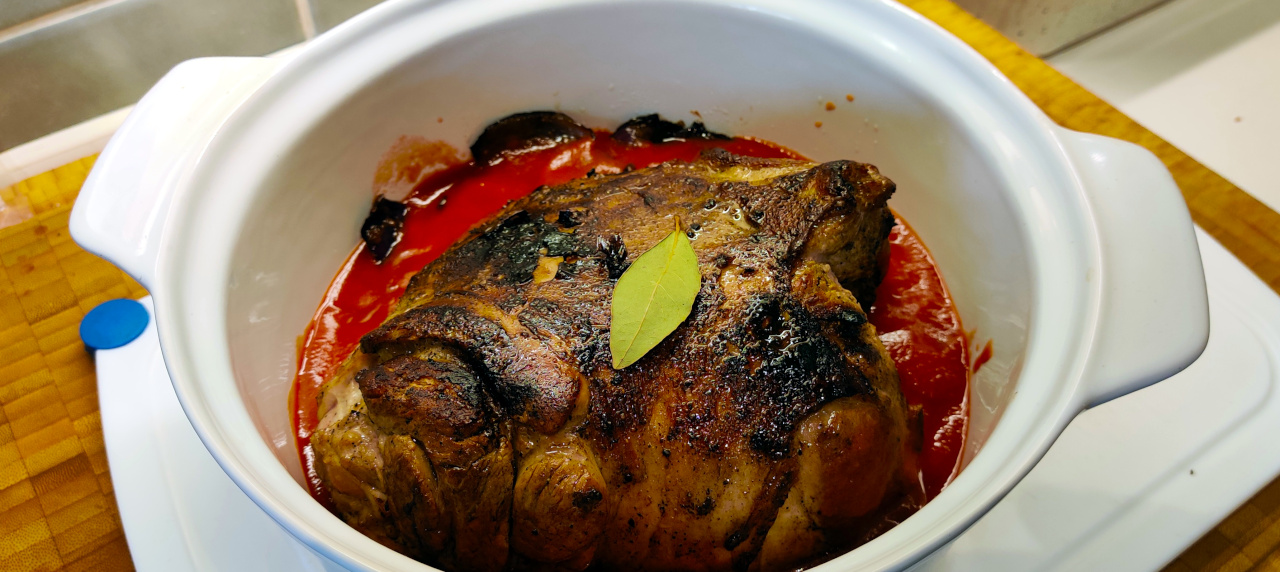
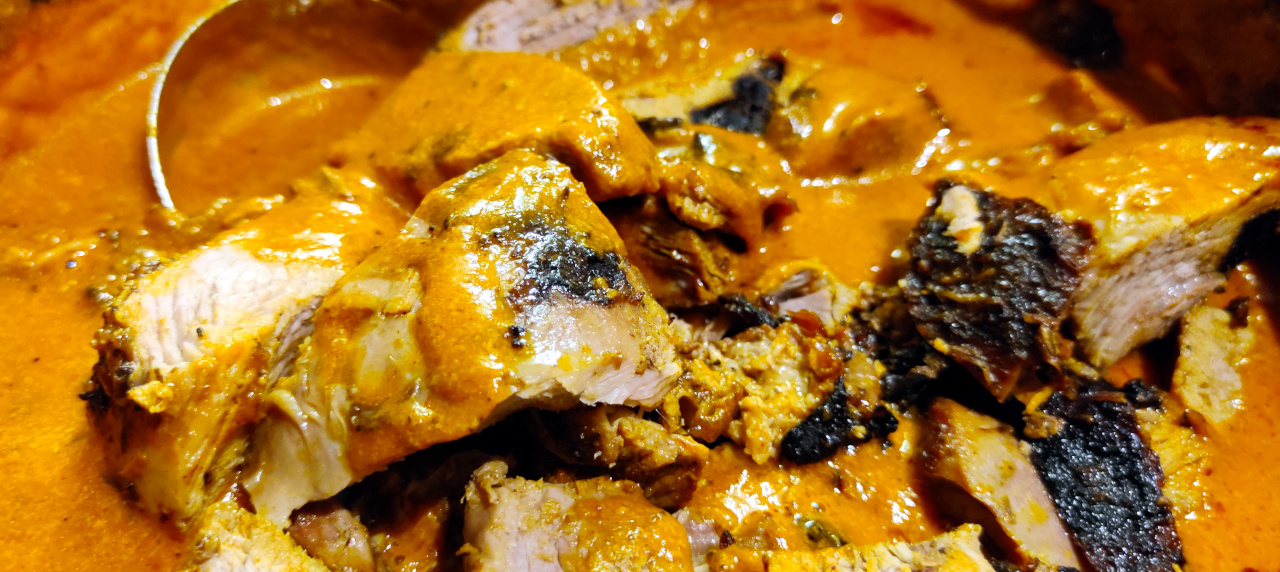
The oven should be hot enough by now – put your roasted leg of lamb in the oven dish and add the strained/chopped tomatoes around it. Ideally the liquid level should now reach half of the lamb leg. Cover the whole thing with aluminium foil or the matching lid and place the leg of lamb in the oven for a good 30 minutes.

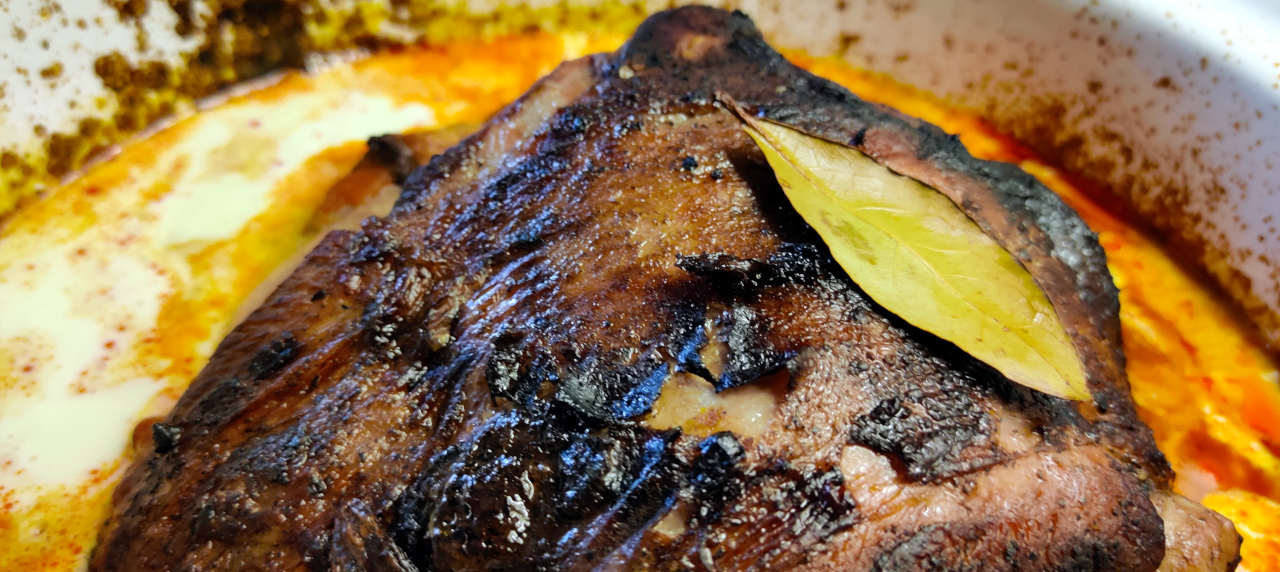
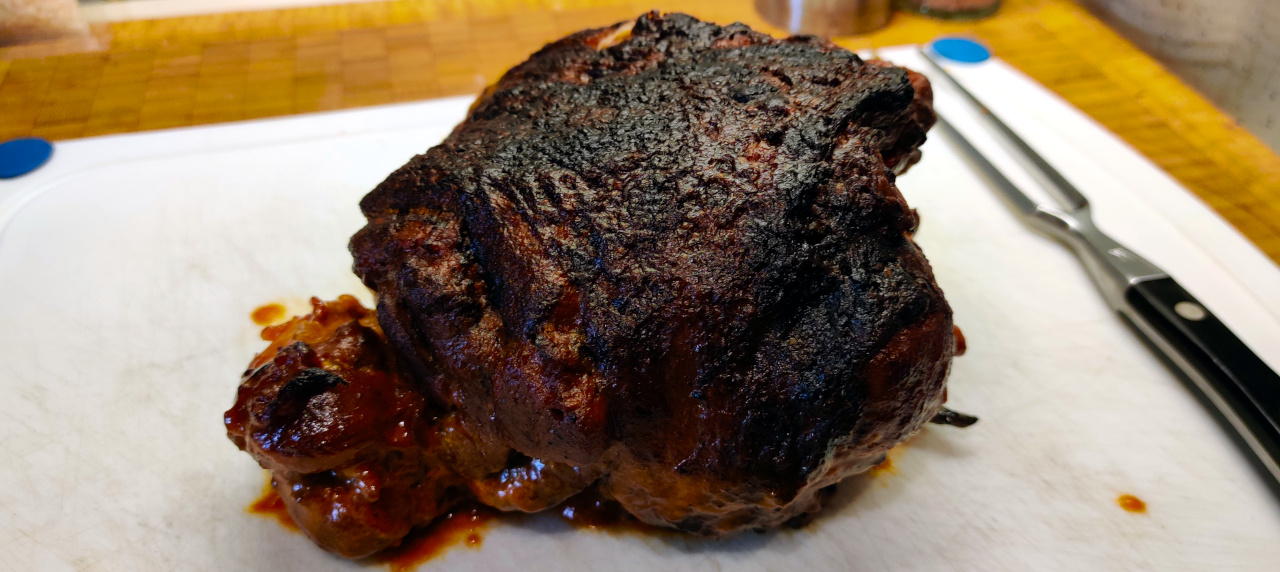
After 30 minutes, turn the leg of lamb over and leave it in the oven for another 30 minutes. After this hour of cooking, take the leg of lamb out, turn it over again and add the cream and sugar all around (do not stir!). After this, put it – still covered – into the oven for another 45 minutes. When the time is up, the leg of lamb should already have an appealing crust. Now remove the cover and turn the leg of lamb over again.
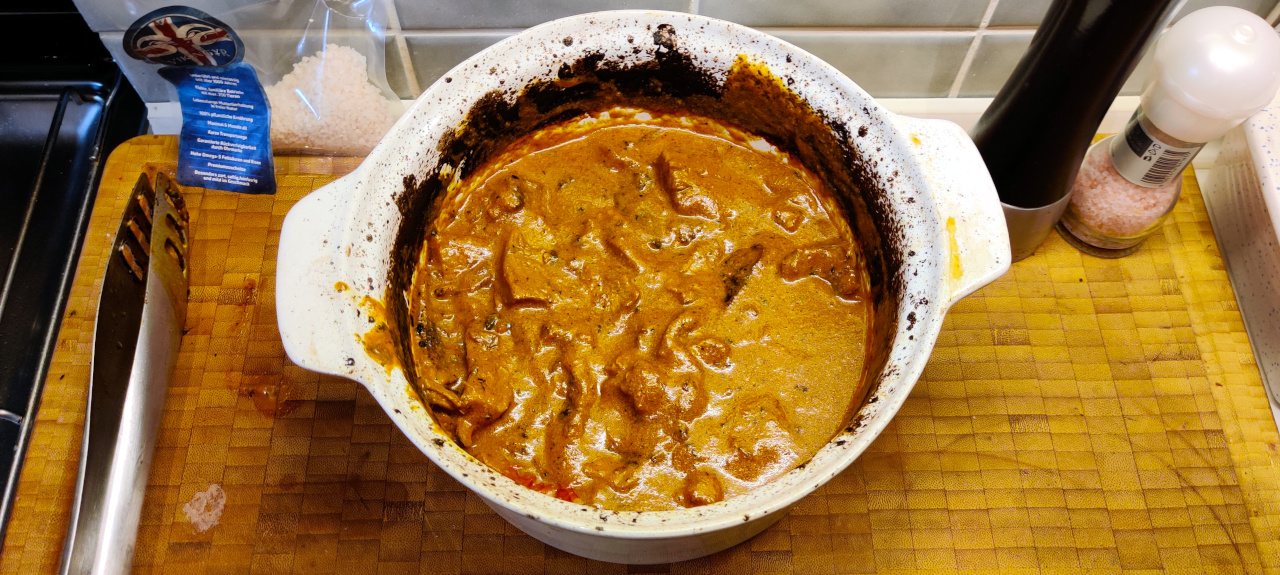
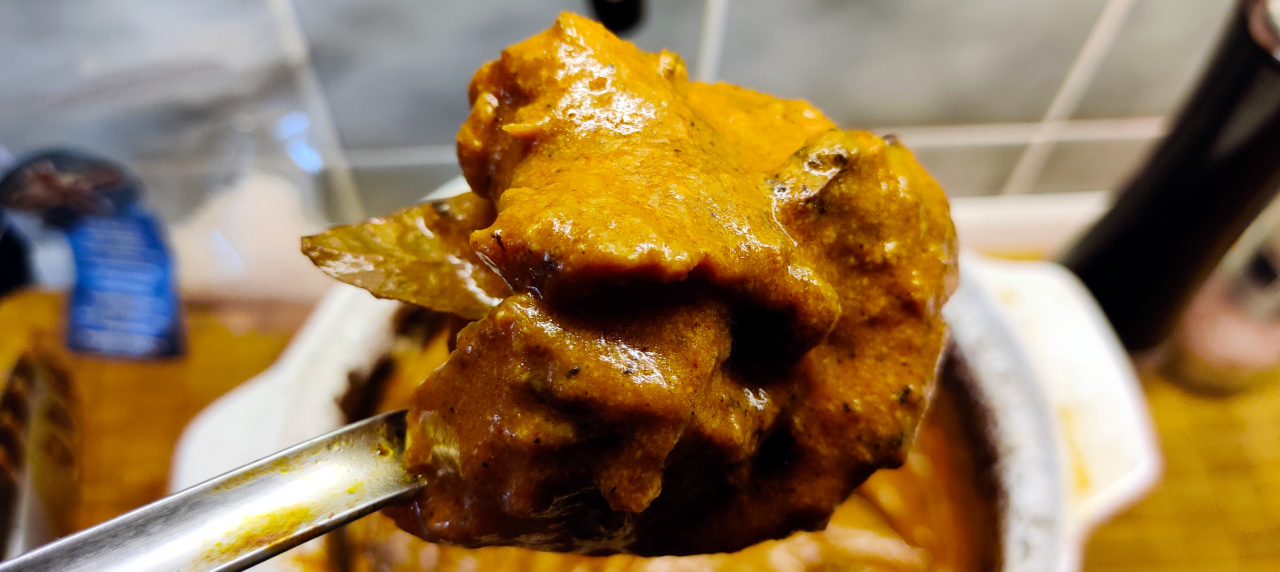
Put a few spoons of the cream-tomato mixture over the meat and let the leg of lamb cook for another 45 minutes – if necessary, you should reduce the temperature to 120°C – 140°C, otherwise the cream tends to “burn”. Of course, this also depends on your oven – my oven is a gas-operated convection oven – so just work with experience and a sense of proportion.


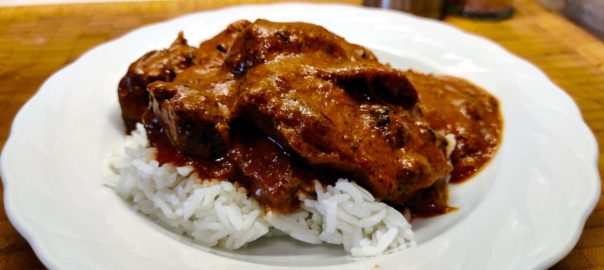
Now our leg of lamb has spent a good 2.5 hours in the oven and can now be taken out. It should have a tasty crust – within the bounds of what is possible with lamb – and be buttery and still juicy.
From here on you decide how you want to enjoy the meat – I cut it into pieces and let it stand in the sauce for 10 minutes before serving it with rice.

Of course, you can also serve it with delicious new potatoes, noodles or bread.
I wish you a lot of joy while cooking and as always, a good appetite!
*The delicious INKA salt used here – and many other delicious salts – are also available at Salmundo.